The following article is to provide an overview on how to connect to a network share to a remote device when using WinPe.
Connecting to a Share:
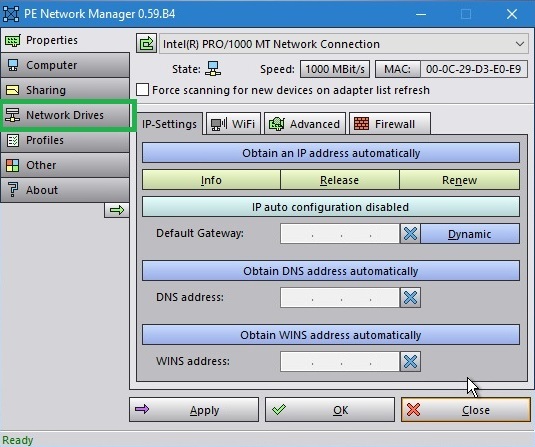
1. With WinPE booted, double click on the network icon in the systems tray to run the PE Network Manager.

2. In the PE Network Manager, select Network Drives, in the left side of the window.
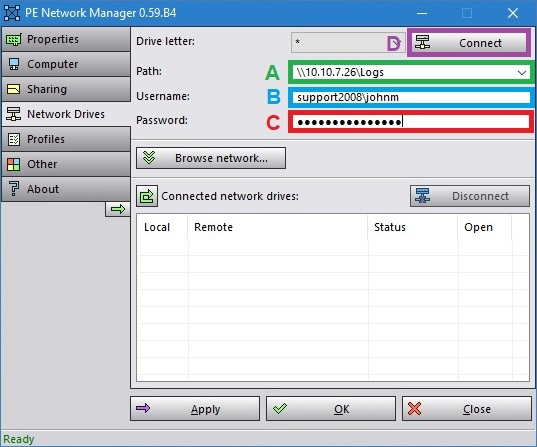
3. Enter the UNC Path to the share you wish to connect to in the Path textbox.
- Enter the Username and password
- Click Connect.
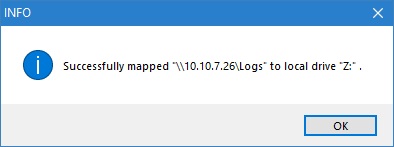
You will see a popup message showing:
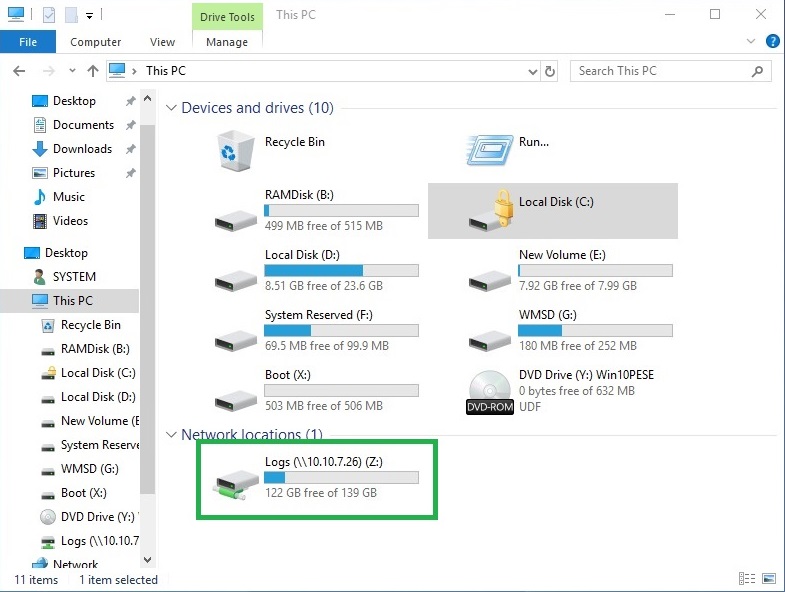
Successfully Mapped \\<ip address mapped> to local drive 'z'
e.g.
NOTE: This will create a mapped drive in Windows Explorer, in which you can copy files to.
Creating a Share in WinPE
NOTE: Domain Network Policies may prevent access to the unauthenticated WinPE share.
1. With WinPE booted, double click on the network icon in the systems tray to run the PE Network Manager.

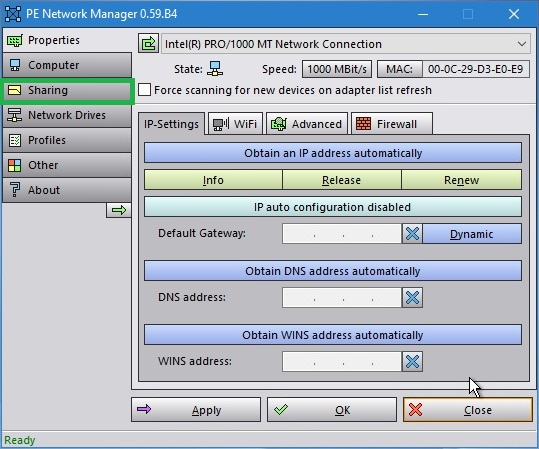
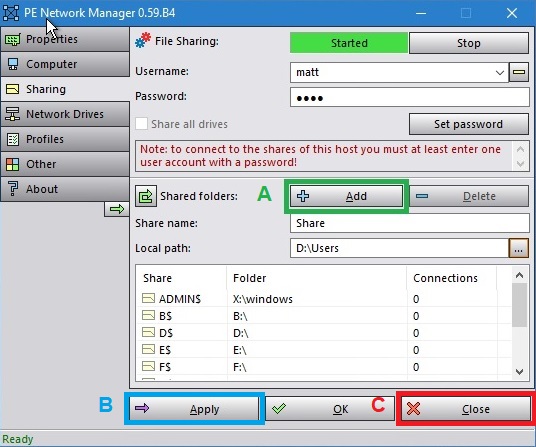
2. In the PE Network Manager, select Sharing, in the left side of the window.
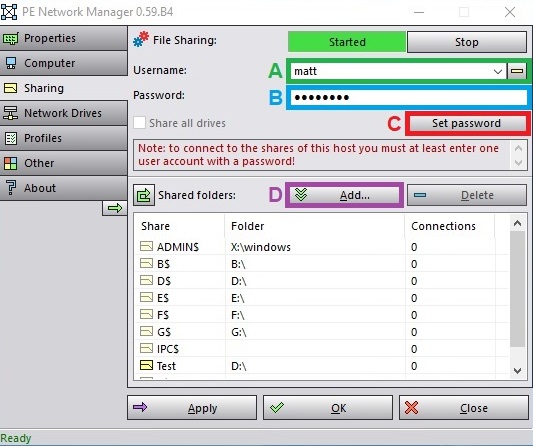
3. Fill in a Username and Password
- Click the Set password button
- Click the Add button.
4. Enter the name you’d like to call your share
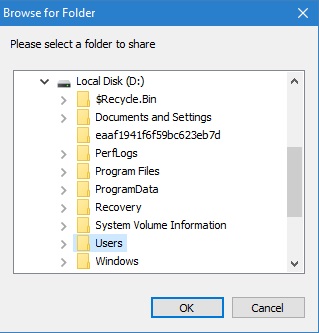
- click the 3 dots next to the Local Path.
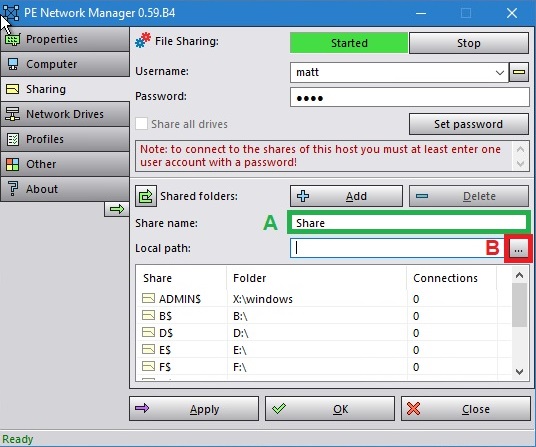
5. Navigate to the location that you’d like to share, and then click OK.
6. Click the Add button to complete the process and then click on Apply then OK.
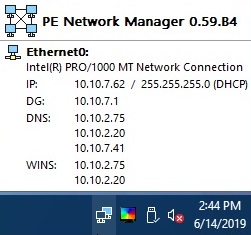
Note: To obtain the IP address, hover over the icon in the systems tray.