KB# | 1775 |
Title | How to prepare a drive for re-encryption |
URL Name | How-to-prepare-a-drive-for-re-encryption |
Summary | Draft Article in Progress This article provides instructions on how to prepare a software encrypted disk to allow for it to be encrypted again. |
Article Summary:
This article describes how to prepare a software encrypted disk to allow for it to be encrypted again.
The disk may have been partially encrypted, or Windows may have become unbootable.
When SecureDoc encrypts a disk, we embed our signature on the disk within the MBR and partition table. Simply formatting a disk will leave this signature, and prevent the installation of our boot logon, and prevent encryption. It may also prevent the system from booting the new OS.
Product version affected:
All SecureDoc (SD) versions
Envrionment (OS/hardware/software):
All Windows OS versions
All devices
NOTE:
Before continuing with this process, please ensure all data is recovered from the disk, as this will remove all partition tables from the disk.
If you are looking for instructions for a Self Encrypting Disk (SED) please refer to KB 1542 – How to Manage Hardware Encrypted Drive Using WinPE Tool.
Follow the section How to PSID REVERT an Opal drive.
Proposed Instructions to follow:
These steps can be performed while the drive is attached to a secondary system, while booted to a Windows Installation CD under the repair console, or from a WinPE disk. These instructions will utilize the a bootable WinPE USB. If you do not have bootable WinPE media, please refer to instructions from KB 1540 – How to Create a Bootable WinPE USB Tool.
- Insert the WinPE USB or CD/DVD into the system, and power on the device.
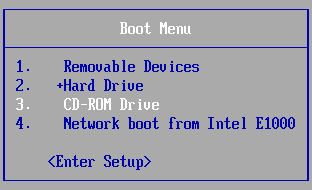
- Using the Brand Specific Boot Menu key, bring up the Boot Menu. (Please review the Manufacturer’s support pages for this key if not known)
- Select the USB or CD that was inserted and press Enter.
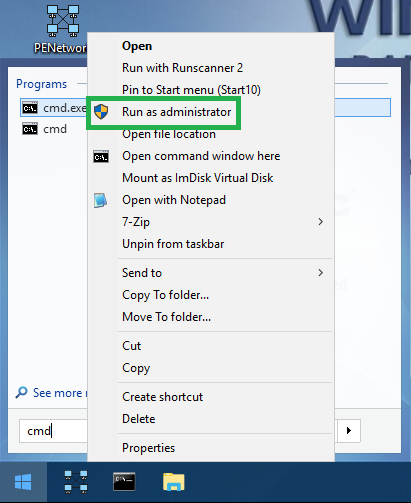
- Once booted into WinPE, load a new Command Prompt window by Clicking on Start and then type 'cmd' I the Search field. Right click on cmd.exe and select Run as Administrator
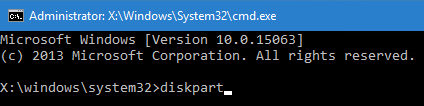
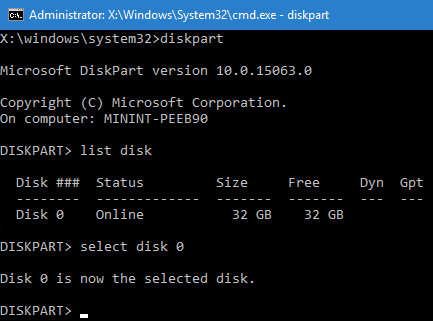
- From the Command Prompt type diskpart and hit Enter.
- Type in list disk to display the detected drives connected to the device
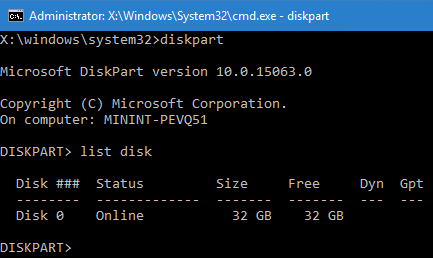
- Type in select disk # to select the target drive. Replace the # with the number of the drive you wish to clean.
- Type clean to wipe clean the disk.
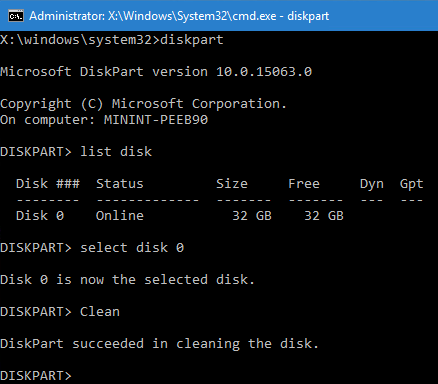
- Repeat steps 3 through 5 for additional disks that need to be reset.
You can now use you preferred method to apply a fresh Windows installation to the disk.