Article Summary: This How-To article provides steps to manage hardware-encrypted drives using the WinPE tool
Product version affected: All SecureDoc (SD) versions
Environment (OS/hardware/software):
All Windows OS versions
All devices
Self-Encrypting OPAL 2 hard drives (using HWE method)
Proposed Instructions to follow:
1. If you do not have a bootable WinPE media created yet, please refer to the instructions from KB 1540 – How to Create a Bootable WinPE USB Tool
2. Once available, please boot into the WinPE USB tool. You may need to make changes in boot order to force your device to boot from USB device.
3. Once you have successfully booted into the WinPE ISO image, run the SDRecovery application from the desktop.
(as example shown below)

Within SecureDoc Recovery:
- Select the drive, if not yet been selected.
- As shown in example, with an OPAL drive, there are additional options available
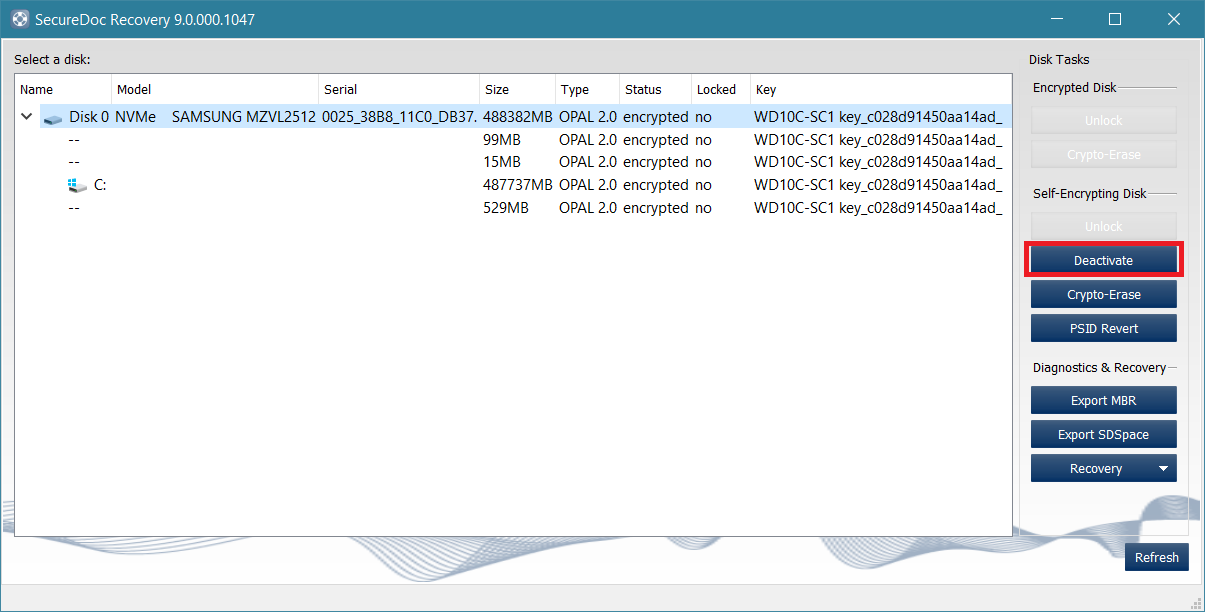
Reference table regarding each option and their meanings as follows:
Lock | This option will normally be disabled when the drive is already locked. To re-lock the drive after unlocking, use this option. |
Unlock | Using this option, the user will be asked to Authenticate to a Key File that has been created for this device. key file to unlock access to drive. |
Decrypt | Obfuscates the Boot Logon from drive but drive is still managed by SecureDoc |
Deactivate | Drive becomes Un-managed |
Crypto-Erase | Generates a new Media Encryption Key (MEK) and makes the drive manageable again. Once an Opal drive has crypto-erased, data previously on the drive is no longer accessible. Requires Hardware Encryption Data from SES. |
PSID Revert | If the drive does support PSID revert, use of PSID Revert can return the drive to its a default (or factory) state, even without unlocking the drive first. However, all data on the drive will be lost. |
How to unlock and Opal drive:
- Please refer to the following article:
KB 1541 - How to unlock software-encrypted drive using WinPE tool
How to unmanage an Opal drive:
1. You will initially need to unlock the Drive using valid Key file credentials for the drive
2. Deactivate Drive – You will need to obtain the hardware encryption data file from your SES Server.
How to export the Hardware Encryption Data from SES:
1. Locate the device on the SES Server, Devices tab. Select the target device that contains the Self-Encrypting Drive in question.
2. Right-click and then select Modify Device Info.
3. In the section Associated Disks, select the drive and then click the Export HWE data button.
4. Save the file to a USB Media, and password-protect the recovery DBK file (in this example, we've named the file as "unlockpin.dbk").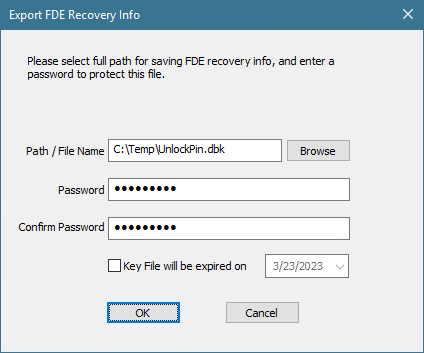
5. Open the SDRecovery Application (as previously shown at the beginning of this article).
6. Click on the 'Deactivate' option, as shown in the example below.
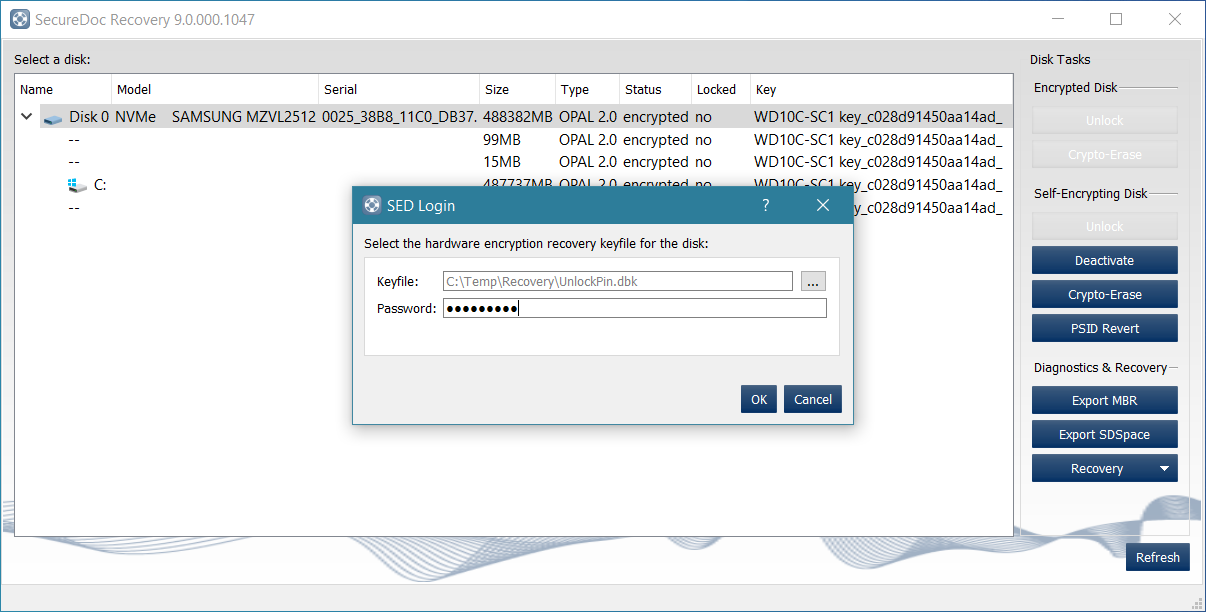
7. This will trigger dialogue to select the hardware key file which you will use to deactivate the drive. You will need to Browse to the Key File which you previously exported from step 3 (file was named 'unlockpin.dbk' in example)
|
|
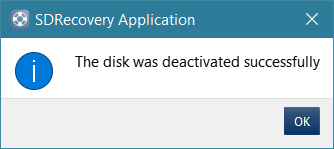
After you click on OK, the application will attempt to deactivate the drive. If the unlock PIN matches the target drive, then it will be successful, and the drive will be un-managed. You will see the status of the drive change from encrypted to plaintext.

8. When Deactivation completes, shutdown and power up the device (reboot is NOT sufficient) after which you should no longer see SecureDoc Boot Logon screen appearing, and your Windows OS should automatically launch.
How to CRYPTO-ERASE the Drive:
Within SecureDoc Recovery:
1. Click on Crypto-Erase

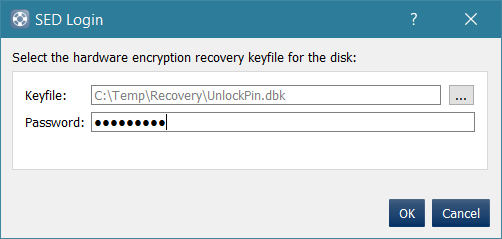
2. This will trigger a dialogue to select the hardware key file, which you will use to crypto-erase the drive. You will need to browse to the Key File which was previously created/exported earlier ('unlockpin.dbk' in the previous example)
After you click on OK, the application will attempt to crypto-erase the drive. If the unlock PIN matches the target drive, then it will be successful. You will also see status of drive change from plaintext to encrypted.
When Crypto-erase completes, shut down and power up the device (reboot is NOT sufficient) after which you will notice that Windows OS will no longer load and the data previously on the drive is no longer accessible. The drive will no longer be managed by SecureDoc.
How to PSID REVERT an Opal drive:
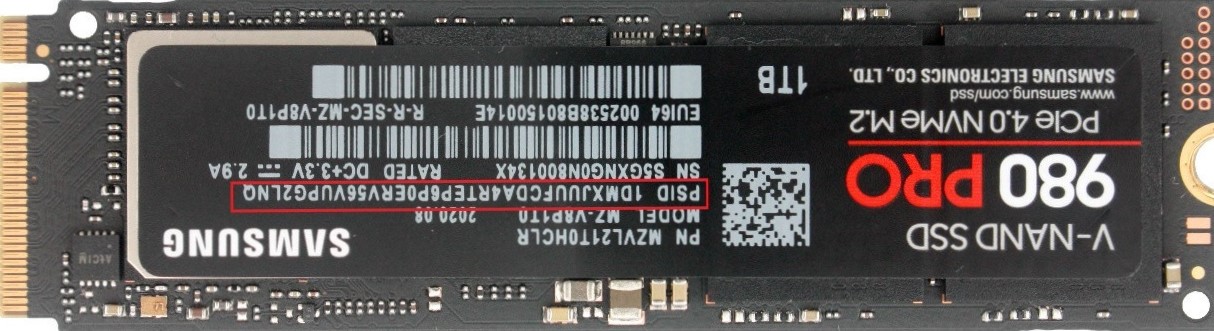
One of the requirements needed for performing this step is that you require physical access to the drive. The device will have a 32-character password which is printed on the drive label. You will need to obtain this information in order to successfully perform the steps outlined in this section of the article.
Example of disk with PSID Label:
Instructions Steps:
Within SD Recovery:
1. Click on ‘PSID Revert’
This will launch a WARNING advisory:
Reverting a disk will cause irreversible loss of all encrypted data on the drive!
example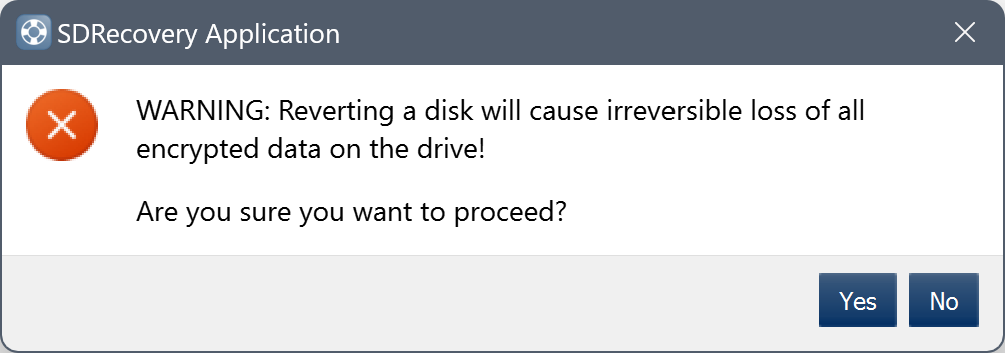
- Click on Yes to continue or No to cancel
2. If you chose Yes to continue, you would now see an SDRecovery pop-up Window dialogue:
- Enter the PSID located on the disk’s label
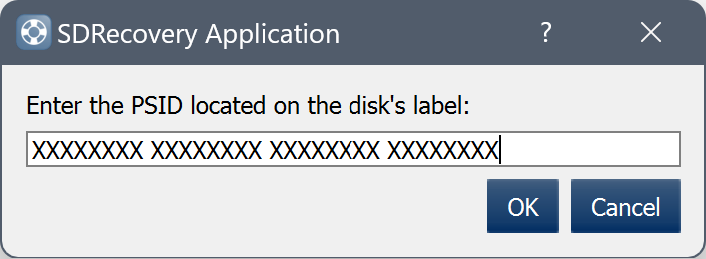
3. Enter the PSID listed on the drive's label (all capital letters) as shown in the example.
After you click on OK, the application will attempt to PSID Revert the drive. If the PSID is correct, then the drive will be reverted, and the status will change from encrypted to plaintext.
When PSID Revert completes, shutdown and power up the device (reboot is NOT sufficient). The drive should now be wiped clean and will be set to a default factory state, even without unlocking the drive first. All data on the drive will be lost. (as initial warning advisory confirmed at the 1st part of these steps.