Topic:
This How-To article provides the instructions to create and apply Recovery information to Mac FileVault 2 device.
This method is used in case the device somehow got corrupted or the user forgot password and wants to unlock the device.
Step 1:
On SES, right-click Mac FileVault device and choose Create Emergency Disk.
This Recovery info is composed of only 1 file (which is the master keychain) and the name of the file is the LVUUID of this device.
There will be some type of dialog (still to be determined) which shows you the master password of this keychain. Please take note of it.
Place this file in some form of removable media.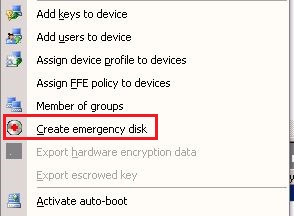
Step 2:
To obtain the Emergency Recovery information: Right click on the device > select "Modify device info" > click on "View FileVault Properties".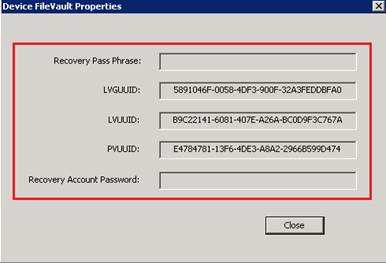
Step 3:
1. Restart Mac FileVault device and press and hold <command> + <R> when you hear the chime to access Recovery HD.
2. Insert USB Removable Media.
3. Under Utilites > open up Terminal.
4a. Enter the following command in Terminal: security unlock-keychain <full path to keychain file>
You will be prompted to enter master password.
4b. Type the next command: diskutil cs unlockVolume <LVUUID> -recoveryKeychain <full path to keychain file>
5. This will unlock the keychain and unlock the device most importantly. In Disk Utility, you will see the device mounted.
6. From this point, users can do 2 things (so far what we discovered). They can either backup their data or they can disable FileVault for this
device.
7. To Disable FileVault from Terminal, first type "MOUNT" in terminal to see what disk number your volume is in. Then enter the following
command: diskutil cs revert disk(whichever number you found) -recoveryKeychain <full path to keychain file>
8. Once you reboot, Apple's preboot will no longer be there and user can access the machine.
1460 How To Perform An Emergency Recovery Process for Mac OSX FV2 devices
- Updated on Feb 11, 2026
- 1 minute(s) read
- VN
Was this article helpful?