Article Summary:
This article provides the necessary steps on how to create the emergency recovery files (also called Recovery Media or an Emergency Disk) from a SecureDoc stand-alone device
Additional Information:
KB 1527 - How To Execute the Emergency Disk on a SD Device
KB 1543 - How To Create Emergency Disk from SES Console
Product version affected:
All SecureDoc standalone versions
Environment:
Windows 7 OS or newer
Steps to follow:
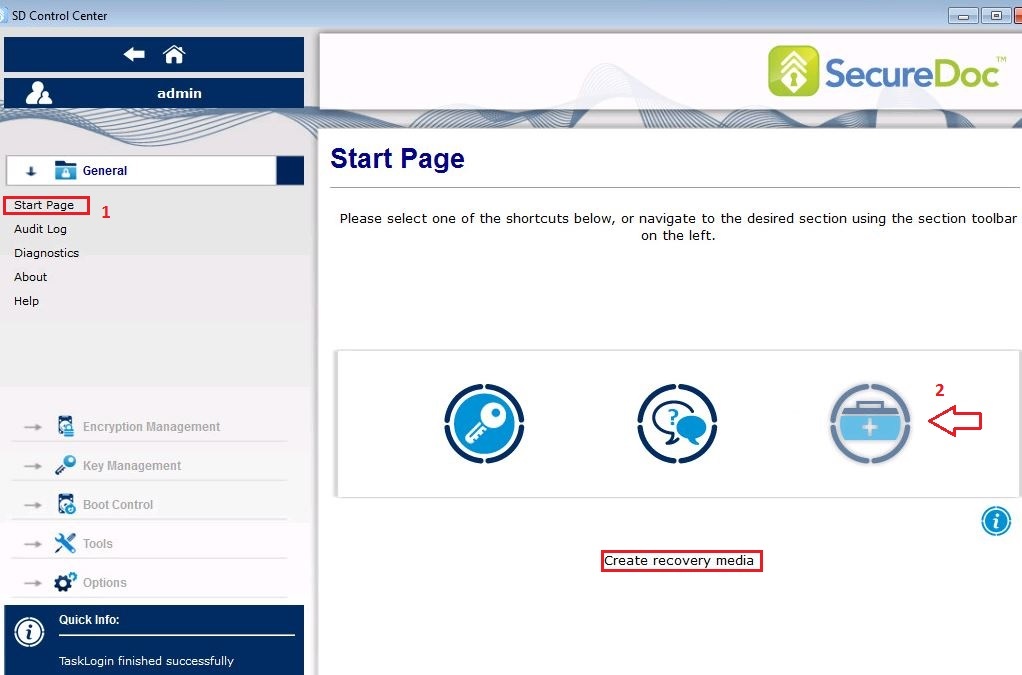
- Log into SecureDoc Control Center using an admin account.
- From Control Center’s Start Page, click on the "Create Recovery Media” icon.
example
- Click on Browse to select where to store the recovery files and then click on OK
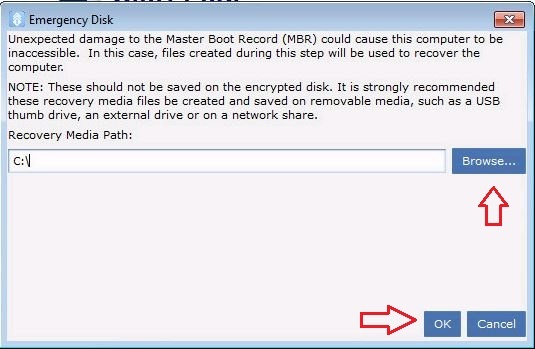
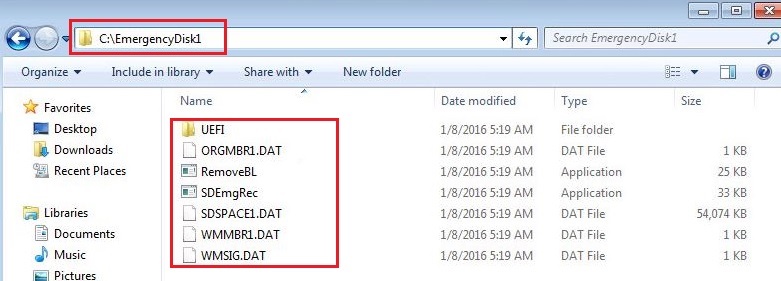
A folder called EmergencyDisk1 will be created which should contain 6 recovery files
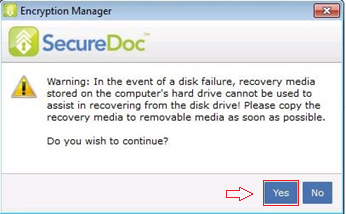
- Click on Yes to continue.
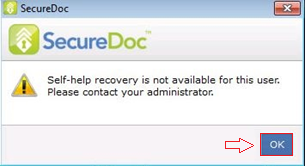
- Click on OK to continue.

- The six recovery files and a UEFI folder are stored in a folder called EmergencyDisk1 in the location specified in step 3. You will need to copy the six files and the UEFI folder to a USB stick (or to other media).
Note: Please make sure to label the USB stick with a unique device name and executing the emergency disk ONLY on the device from which it was created. Executing the emergency disk on a wrong device could adversely affect the device.
Executing the emergency Disk
Note: Please refer to KB 1527 - How to execute the Emergency Disk on a SD Device
- Please refer to the following url link below on how to create a bootable USB Memory Key.
http://www.bay-wolf.com/usbmemstick.htm
- Once you’ve successfully created the DOS bootable USB stick, you can copy the six recovery files onto the media.
- Plug the USB stick into the device and power up the PC.
Once the device boots up, you can run the command sdemgrec.exe /2
(The /2 switch is used to identify the main hard drive because the USB is detected as the primary hard disk).
- Once you’ve confirmed command was successfully executed:
- unplug the USB stick
- restart the device.
You should now be able to see the SecureDoc Boot Logon appear.