Topic:
This How-To articles provides instructions on how to manually install SD on a standalone device.
The installation is broken down into 3 separates steps:
1. Manually create a physical keyfile,
2. Install the boot logon
3. Encrypt the device in respective order without using the Quick Wizard.
Product version affected:
All SD standalone versions
Environment:
All Windows OS
All devices
Steps to follow:
1. Creating a physical keyfile.
After running the SD setup/installation file, SD “Getting Started” screen opens
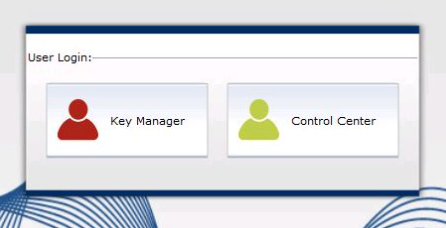
Click on Advance Mode
Select Key Manager
Select ‘Create key file’ > Click ‘Next’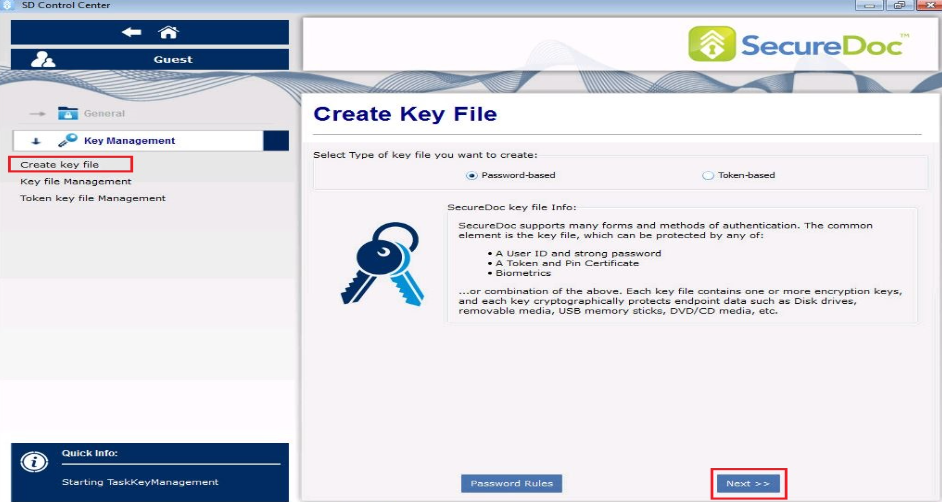
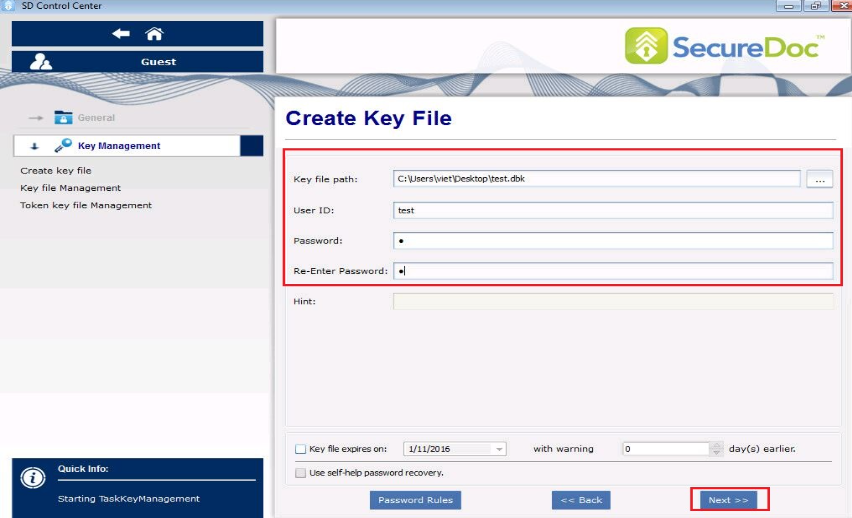
Browse to the keyfile path, enter a user id and password and then click Next
Select ‘Admin Rights’ and Click Next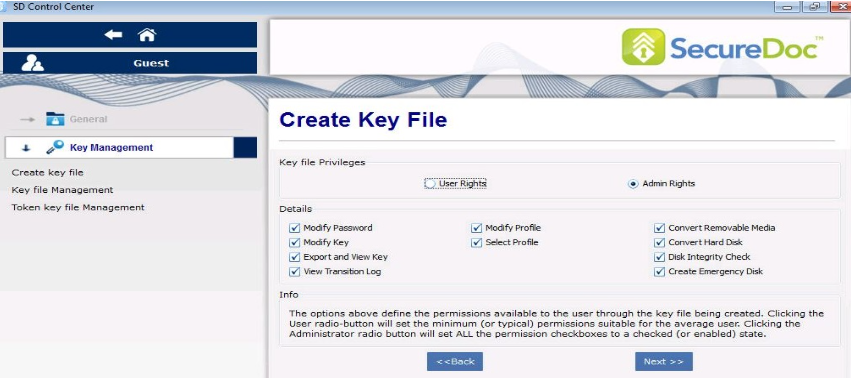
Enter a key name for the encryption key i.e. test, click ‘Add’
Highlight the test encryption key and click ‘Finish’
Message at the bottom right hand corner indicates “Key File Created”.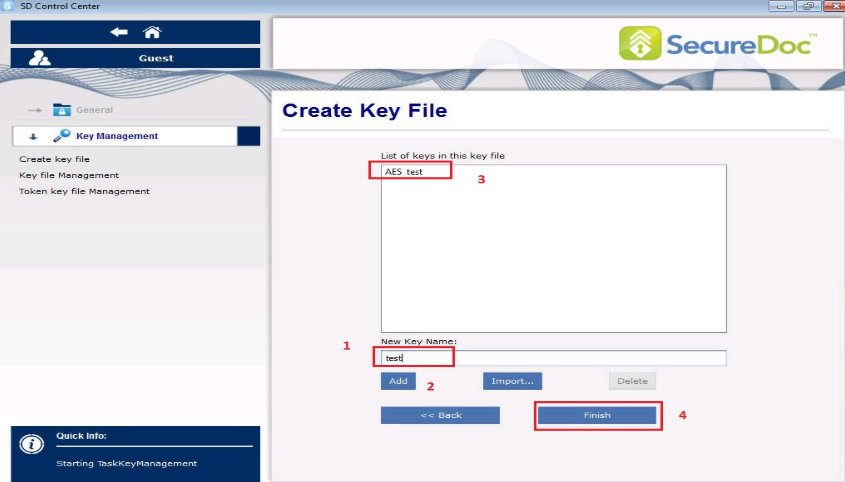
Customer will see a message, “Key file Created” at the bottom right hand corner of the device.
2. Installing the boot logon.
At the main control center screen, click on the control center, and browse to the keyfile, ‘test.dbk’ path, and enter password--> click Login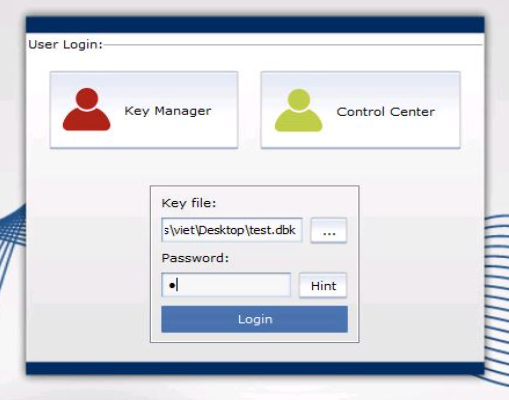
From Boot Control > select ‘install/uninstall Boot logon’ > Click the ‘Install’ tab > enable the option ‘HD1’ drive and click ‘Install’. The device will restart.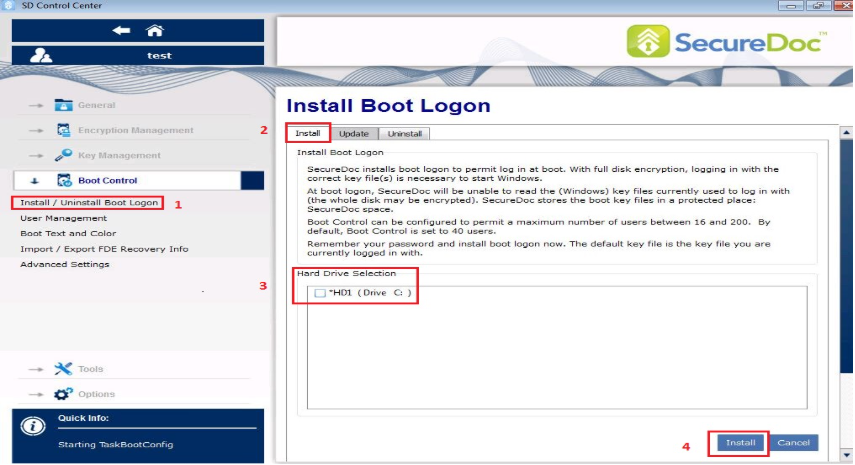
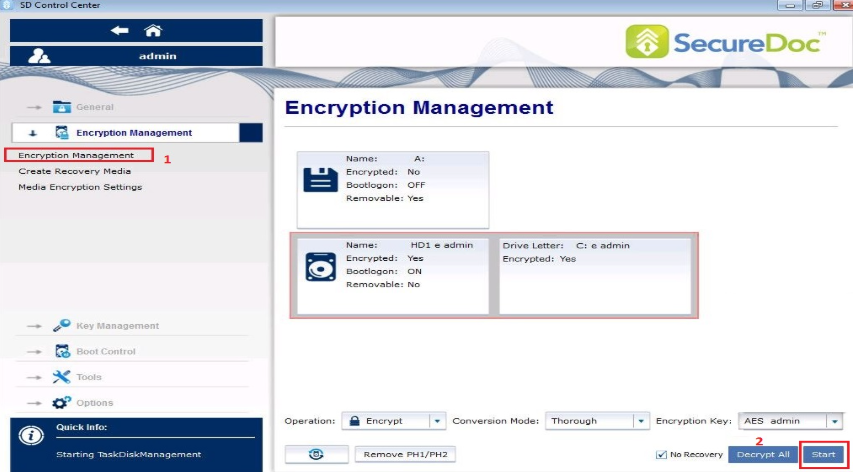
3. Encrypting the device
Enter the user id and password at the Pre-Boot logon screen. Once into Windows, log into the SD control center. Go to Encryption Management > Encryption Management > highlight the HD1 box and the drive letter: C box.
Select Operation: Encrypt; Conversion Mode: Thorough; Encryption Key: xxxxx
Click Start