Pre-Installation:
- Please be sure to complete steps in article KB 1367- Preparation Before Upgrading the SES server before starting.
- Confirm that there’s no other software installations are running.
- Download and Save the SES installation files to the SES Server local hard drive. eg. c:/ [folder name]
- Review the product release notes from: https://www.winmagic.com/support/release-notes
- Review KB 1744 - How To Obtain And Use The License Key Validation Tool [step may be OPTIONAL]
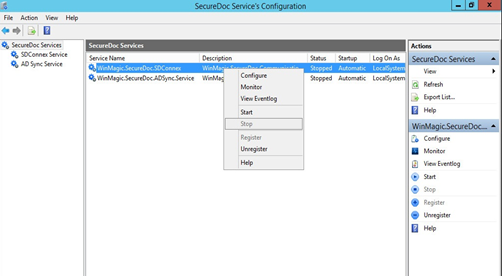
- Stopping SDConnex/AD sync services:
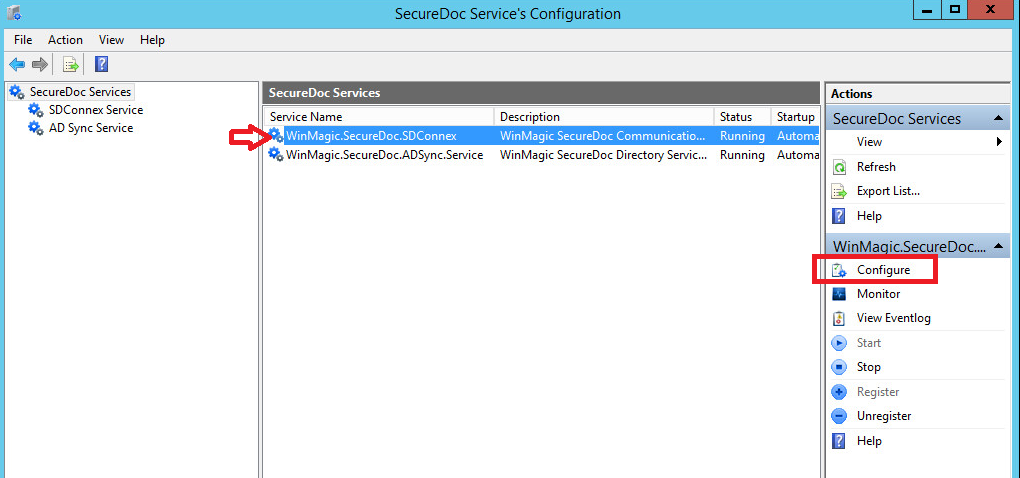
- Launch SecureDoc Services Configuration
For SDConnex:
- Select SDConnex Service
- Right-Click on WinMagic.SecureDoc.SDConnex
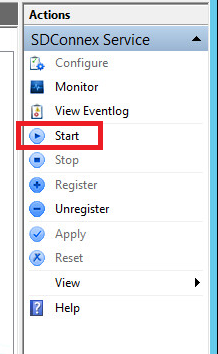
- Click on Stop
- Right click then, select Stop.
For AD Sync:
- Select AD Sync Service
- Right-Click on WinMagic.SecureDoc.AdSync.Service
- Click on Stop
- Right click then, select Stop.
pic1
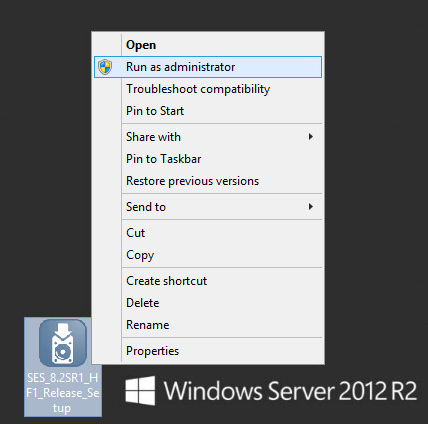
SES Server Installation steps:
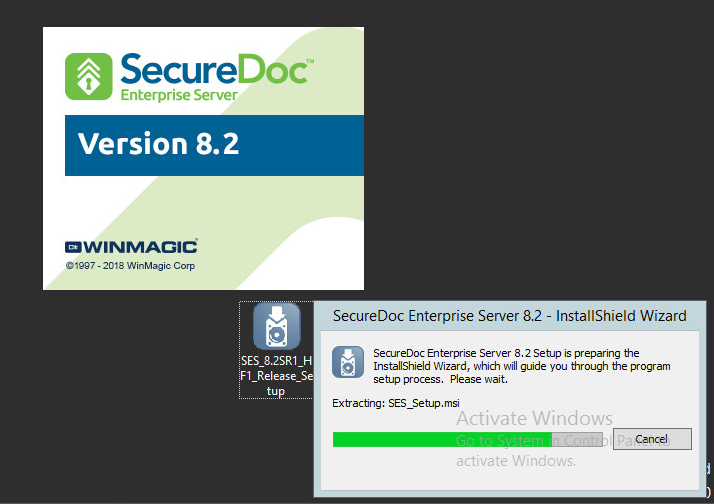
- Run the saved SES installation .Exe file (Run as Admin) and follow the Installation Wizard.
pic2
Pic3
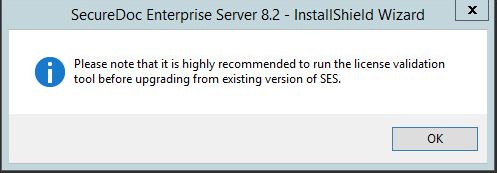
- Refer to Step 5 in Preinstallation and click OK to continue.
Pic4
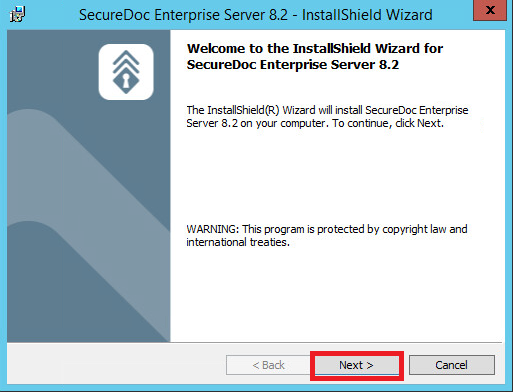
- Click Next to Continue
Pic5
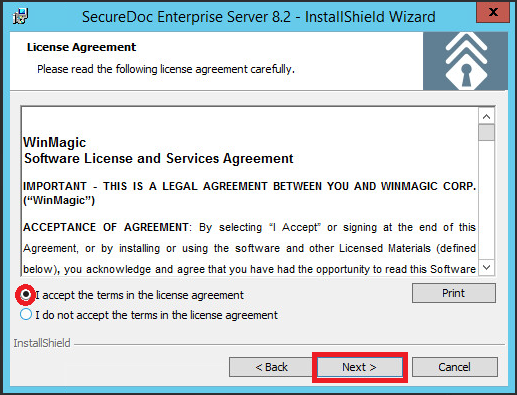
- Check "I accept the terms in the license agreement" then click NEXT.
Pic6
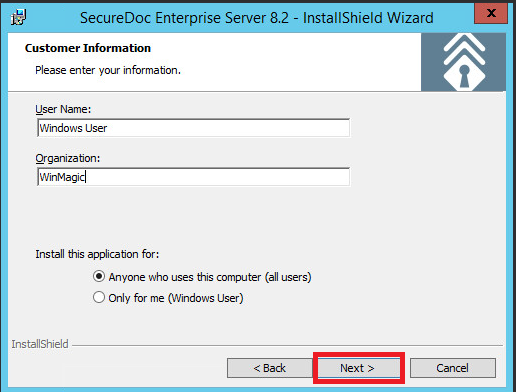
- Enter the User Name/Organization info
then click NEXT.
pic7
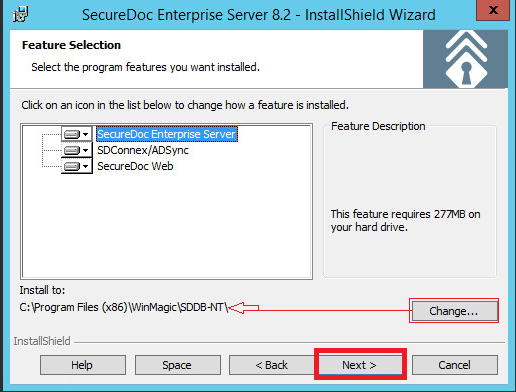
- You can Select which features to install. Normally the default values are all 3.
If most cases, the default installation path is acceptable.
- Click on Next. Otherwise click on Change… icon to change installation path.
Pic8
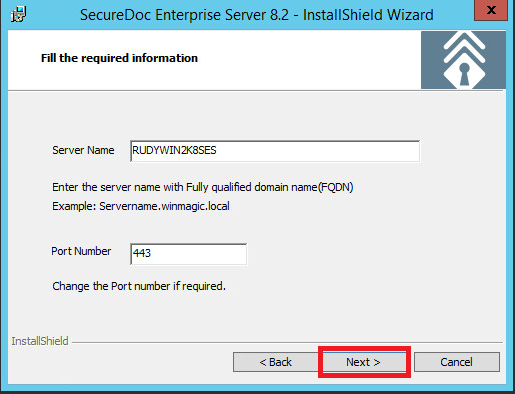
- Verify the Server name & Port number which will be used for SD Web, or change if needed
- Click on NEXT once information has been entered.
Pic9
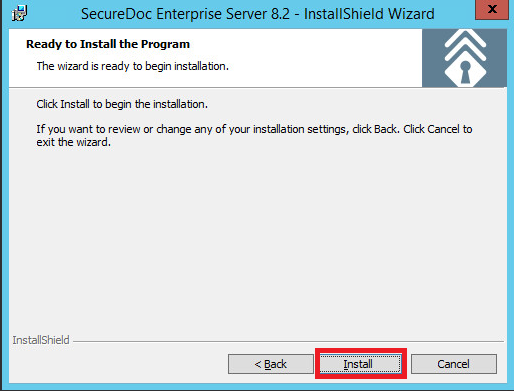
- You will see dialogue Ready to Install the Program.
- Click on Install.
Pic10 pic11
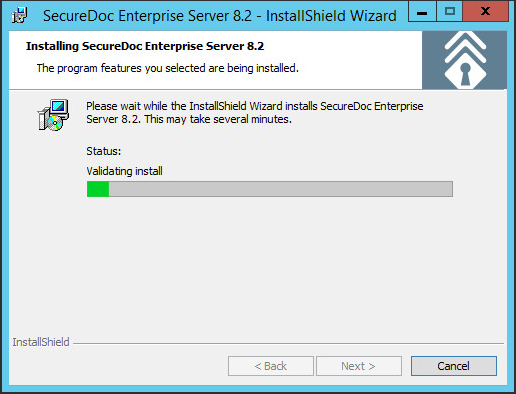
SecureDoc will now begin process of installation which will take several minutes to complete.
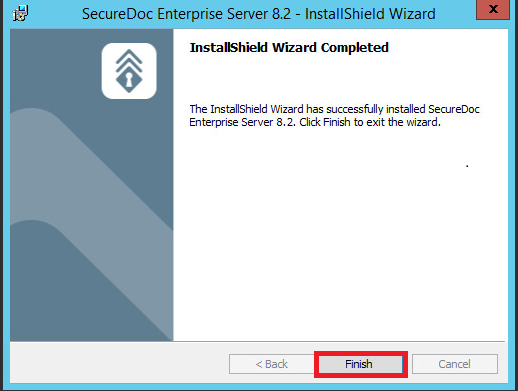
- If the installation process was successful, you will be presented with dialogue window indicating successful completion.
- If successful, you can Click on FINISH button to complete the installation wizard.
Pic12
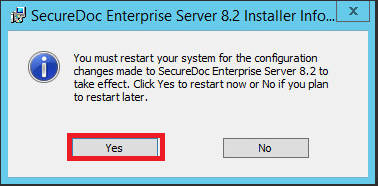
- You should be presented with dialogue window prompting restart required to complete the install.
- Click on Yes to restart the Server.
Pic13
Post installation steps:
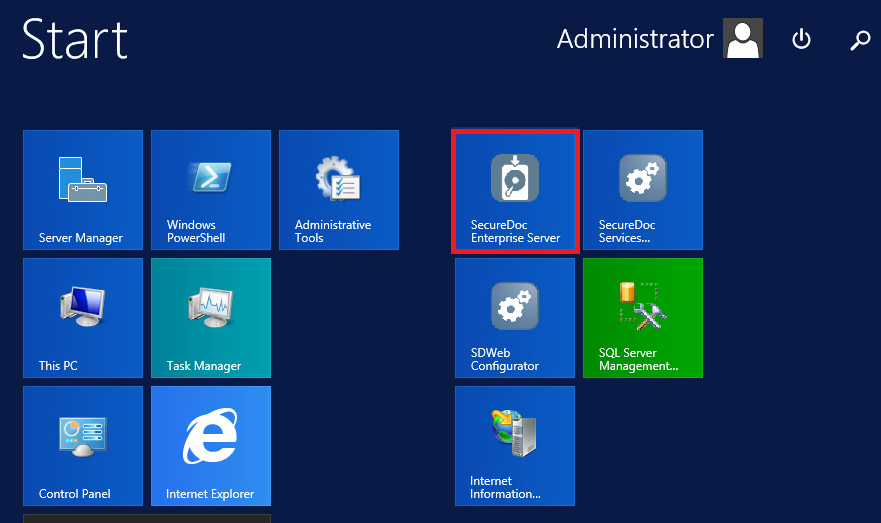
Launching SES Server Console and upgrading the database.
- Launch SecureDoc Enterprise Server software and then login into the SES database.
Pic14
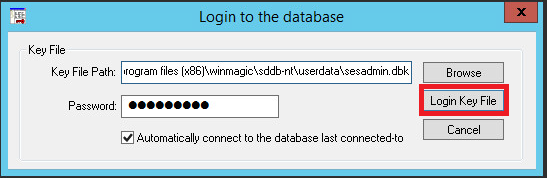
- The <Key File Path> should be prepopulated with the last admin key file used.
This should be the Root Admin key file.
- Enter the Password.
- As this is an Upgrade ‘Automatically connect to the database last connected to’ should be checked.
- Click on Login Key File.
Pic15
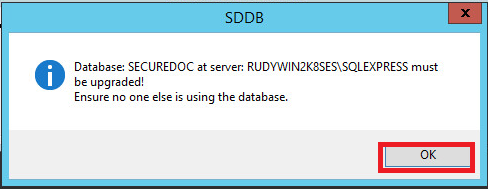
- At this stage the new version of SES will be detected and should initiate a dialogue to start the upgrade process of the SES database. You will see dialogue window showing database upgrade will begin.
- Click on OK to continue.
Pic16
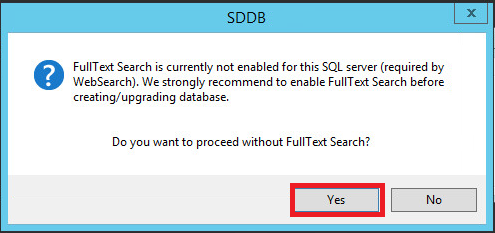
- Depending on your SQL settings, you may encounter a warning message regarding Full Text Search (may or may not appear). In the event it appears, click on Yes to continue.
Pic17
- A Window dialogue prompt will appear regarding executing a backup of the database.
Pic18
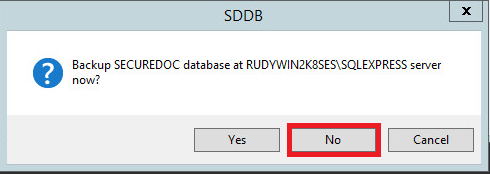
Note:
If backup was not yet completed then, it would strongly be recommended to complete this step by clicking on Yes. Otherwise, if it was previously backed up prior to the upgrade, then you can click on NO and continue.
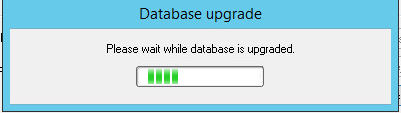
- You will now see Database upgrade dialogue “Please wait while database is upgraded“.
This may take several minutes to complete…
Pic19
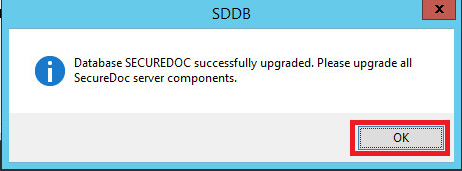
- The Database upgrade portion is now complete. Click Ok to continue.
pic20
At this stage the SES Server Console will now open.
Completing Re-register of SDConnex, AD Sync and/or SD Web
Note: When an SES upgrades is performed, this will remove any previous Registration and configuration for SDConnex and ADSync.
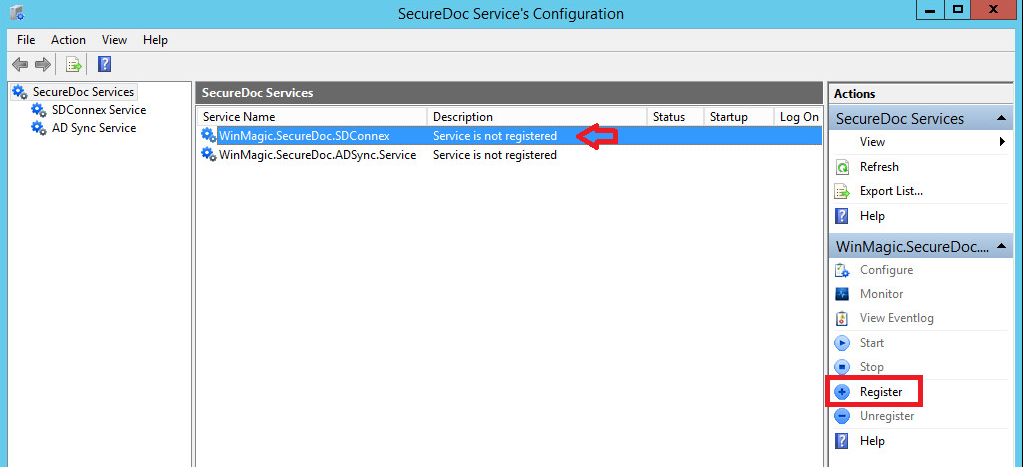
Launch the SecureDoc Services Configuration program.
pic21

SDConnex Registration:
- Select SDconnex Service and click on WinMagic.SecureDoc.SDConnex then click on Register
pic22
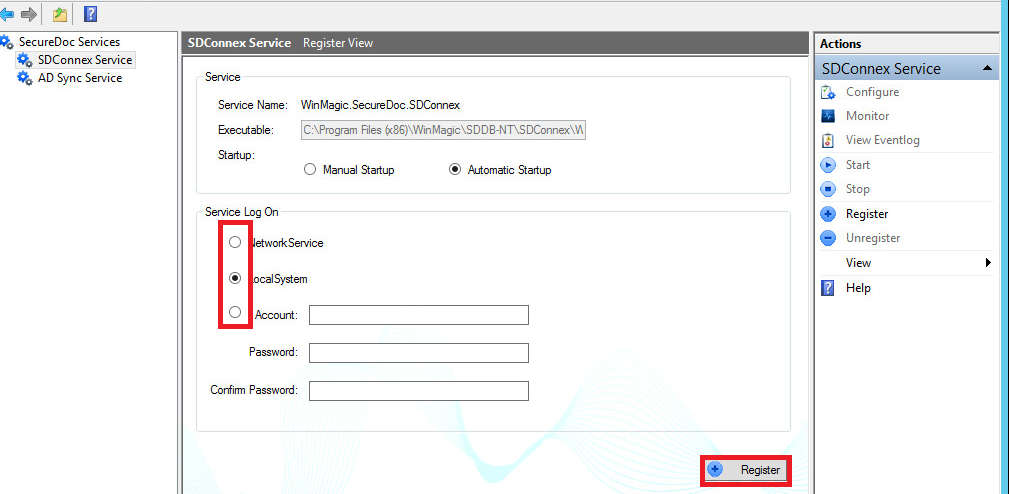
- Select Network Service, Local System or Account: you will need to then specify the Domain\Username + password, confirm password
Note: For which selection you’ve chosen is further documented in KB 1367: Preparation Before Upgrading the SES server steps.
- Click on Register.
pic23
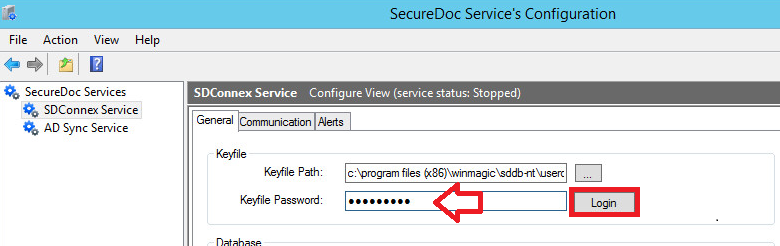
- Type in your Root admin key file password and click on Login.
pic24
- If password is successfully entered, it should auto populate data in remaining sections of this tab. Please verify that the populated information is correct (it should previously match what there prior to the upgrade).
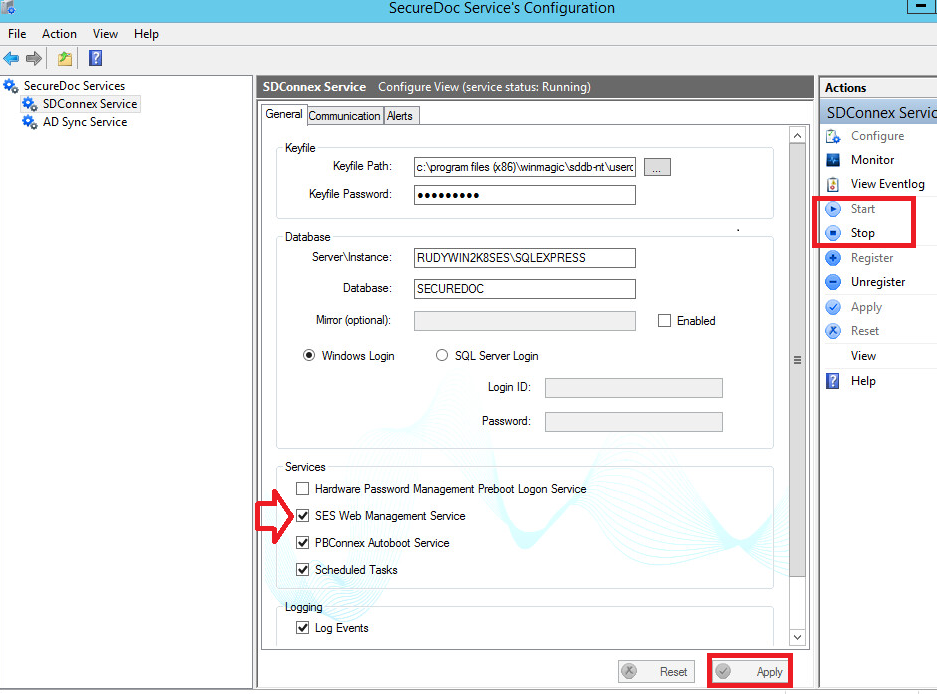
Note for SDWeb: If you are using SD Web, then you will need to add a checkmark next to SES Web Management Service and then Click on Apply.
pic25

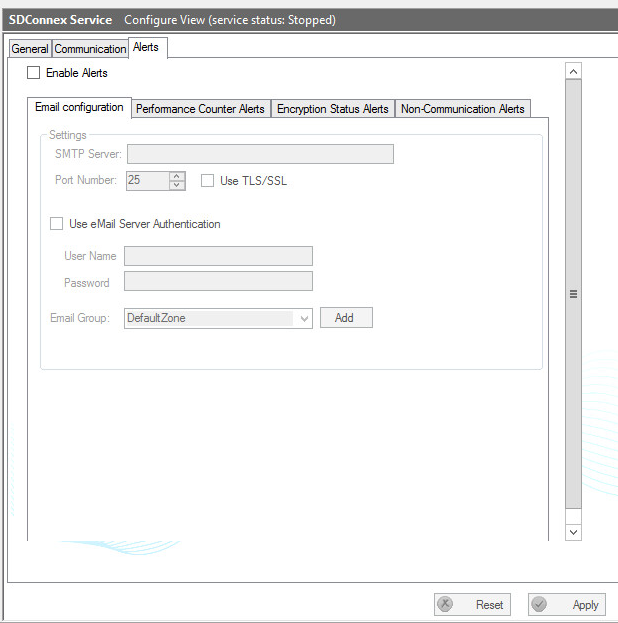
- If applicable, you will also want to check the Communication and Alerts Tab and confirm the settings match what was configured prior to upgrade as well. Make the necessary updates and then click on Apply to save these changes.
pic26 pic27

- Click on Start to begin the service.
pic28
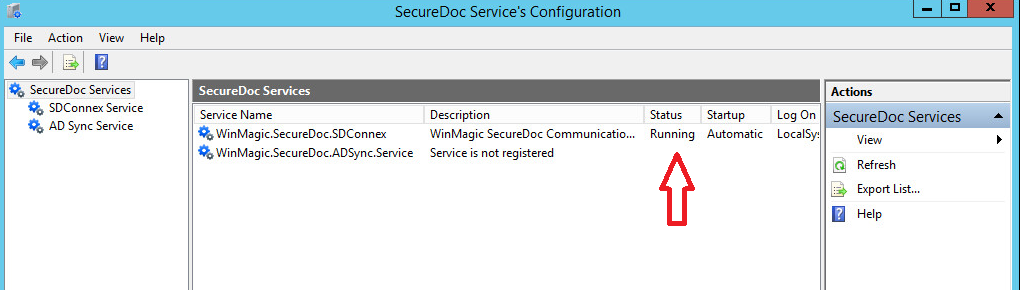
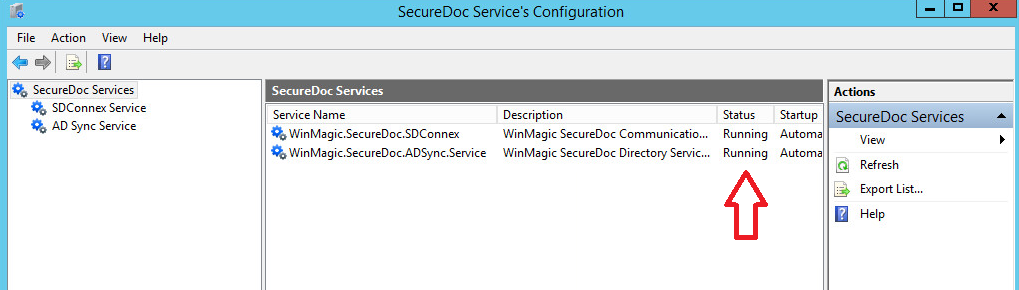
- Check and confirm status of WinMagic.SecureDoc.SDConnex service is now running.
pic29
AD Sync (Optional)
- If environment is setup with SecureDoc AD Sync Service:
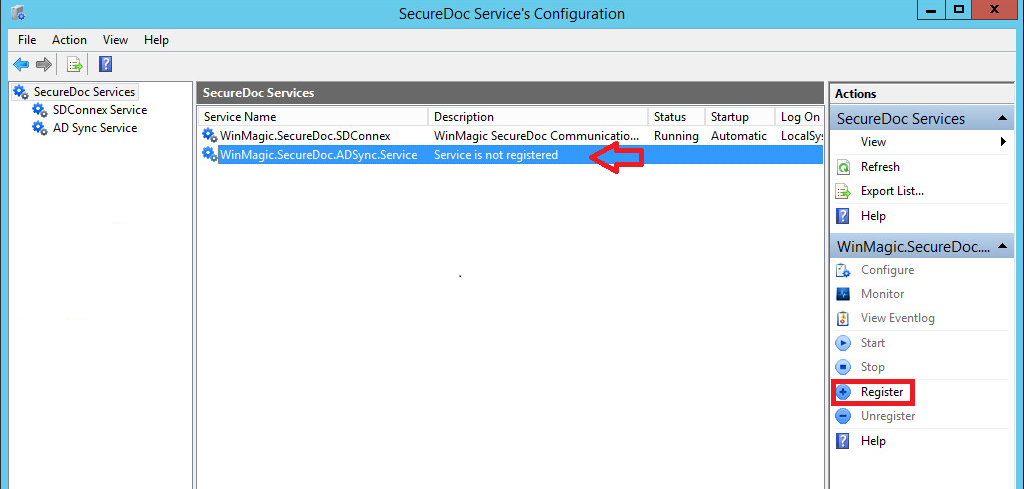
- Click on AD Sync Service and then click on Register.
Pic30
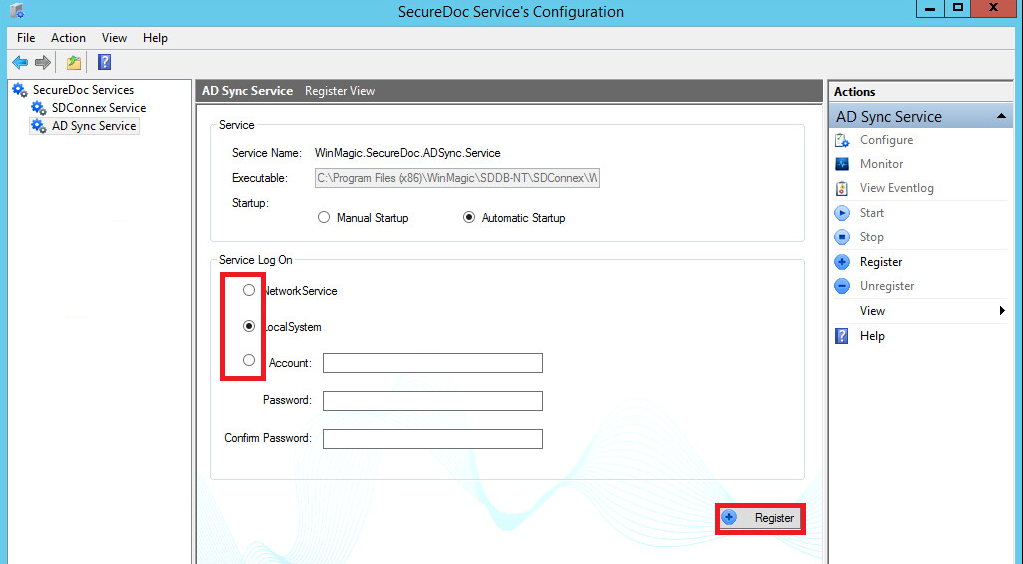
- Select Network Service, Local System or Account: you will need to then specify the Domain\Username + password, confirm password
Note: For which selection you’ve chosen is further documented in KB 1367: Preparation Before Upgrading the SES server steps.
- Click on Register.
Pic31
- Type in your Root admin key file password and click on Login.
Pic32

- If password is successfully entered, it should auto populate data in remaining sections of this tab. Please verify that the populated information is correct (it should previously match what there prior to the upgrade).
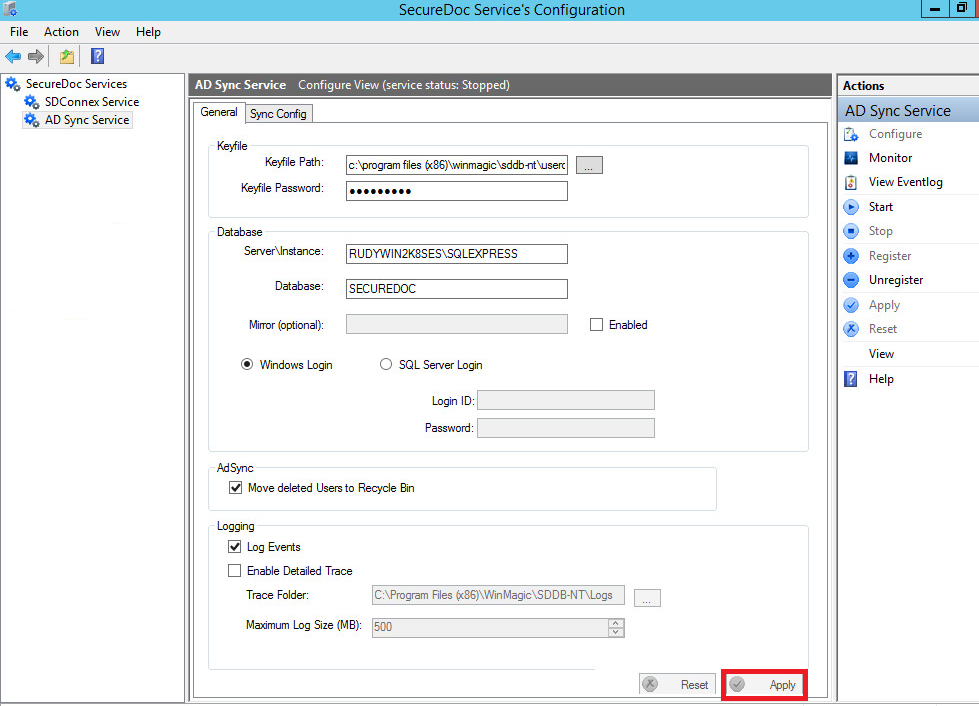
- Click on Apply.
Pic33
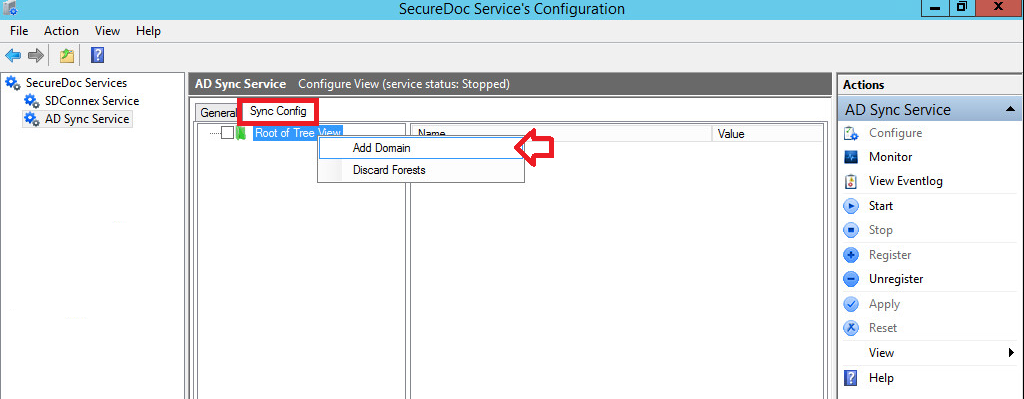
- Click on the Sync Config tab then, right click on Root of Tree View and then, Select Add Domain.
Pic34
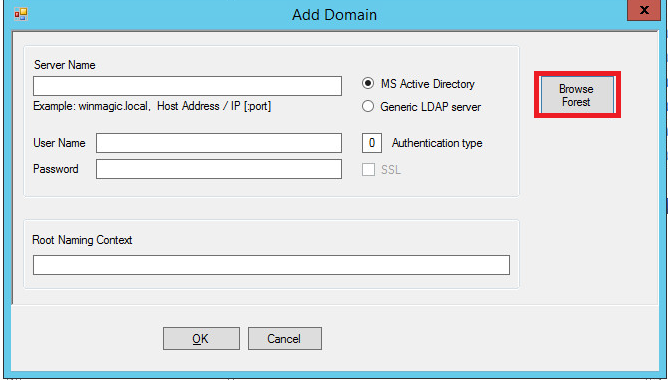
- Click on Browse Forest.
Pic35
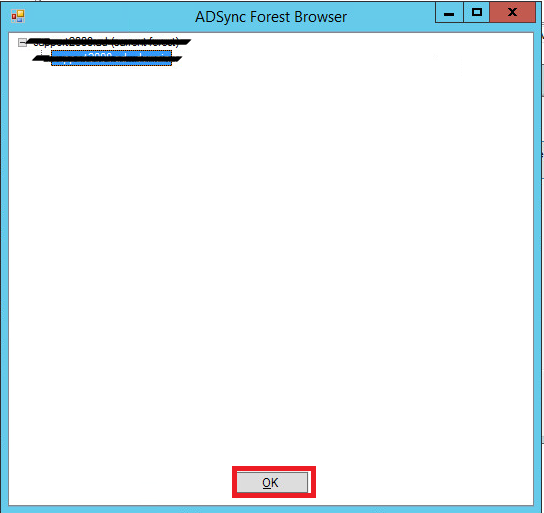
- Select the domain forest from list of available domains and then, click on OK.
Pic36
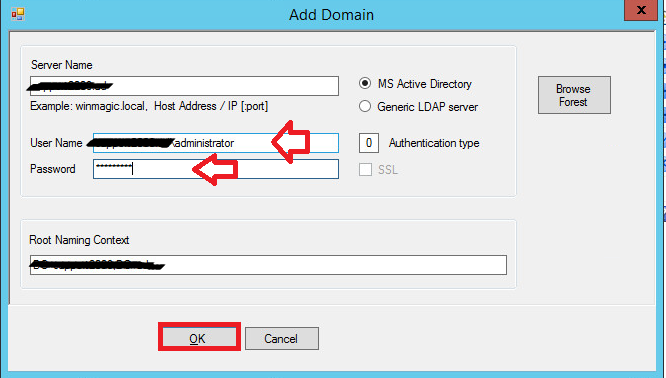
- The Server Name and Root Naming Context field should now be populated.
- Enter User Name and Password and click on OK.
Note: Which to use should be documented from you Preparation Before Upgrading the SES server steps. (KB 1367)
Pic37
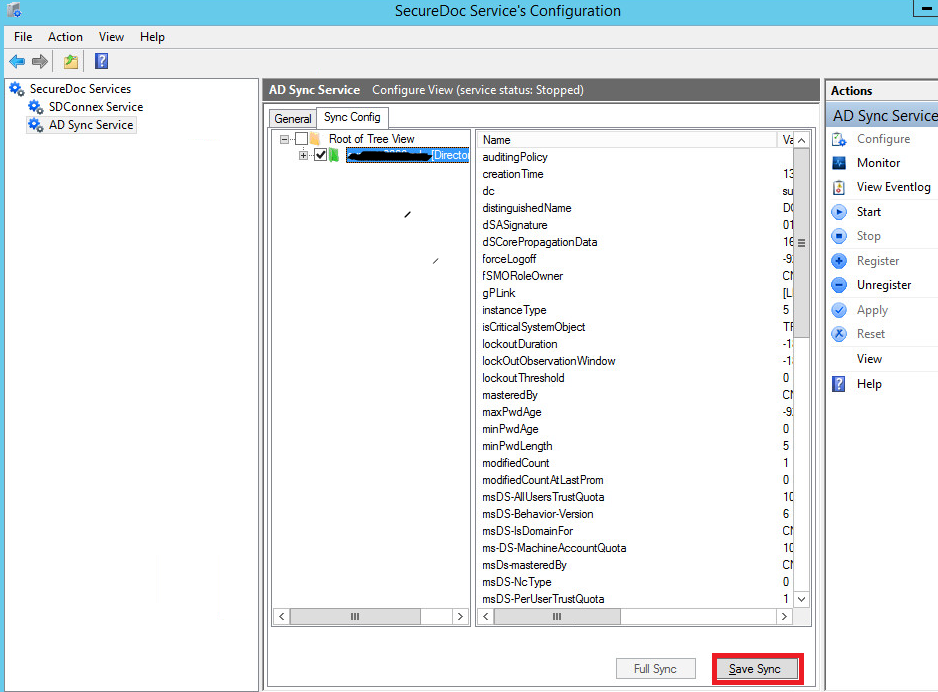
- - Click on + next to Root of Tree View
- The Forest Domain should appear underneath.
- Click on the + icon next to your Forest Domain in order to expand view.
You should now see the AD Forest folder objects which you can then select which ones you would like to sync. Once the selections have been made, you can then click on Save Sync.
Pic38
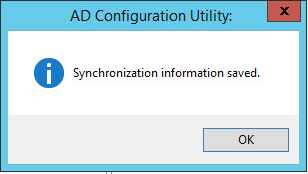
- The AD Configuration Utility dialogue will appear confirming your selections was saved.
Click on OK to continue.
Pic39
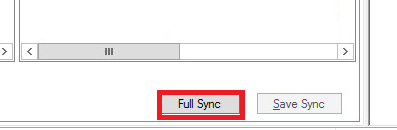
- Click on Full Sync
Pic40
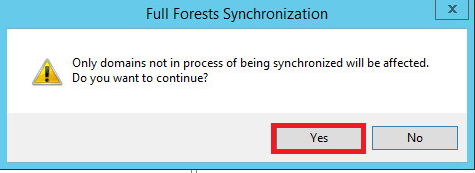
- A Full Forest Synchronization dialogue pop up will appear to confirm your wish to continue. Click on Yes.
Pic41
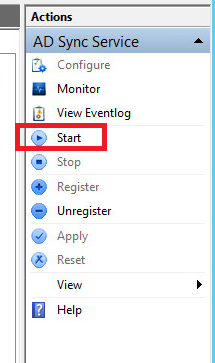
- Click on Start to begin the service.
Pic42
Pic43
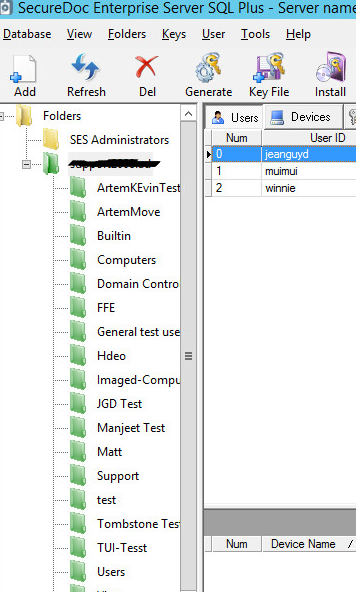
- Open the SecureDoc Enterprise Server Console. You will see a Green folder now appear.
Note: The folders which are showing as green is to indicate they’re being sync’d via SecureDoc AD sync.
Pic44
SD Web (Optional)
You can review the following instructions in the event, you’ve opted to setup SDWeb:
- Launch SD Web Configurator.
Pic45
- The Web Configuration pop up window will appear.
Pic46
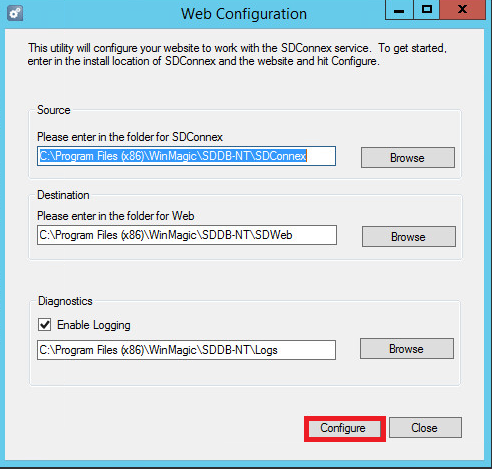
- Click on Configure.
- Success dialogue window will pop up as shown.
Pic47
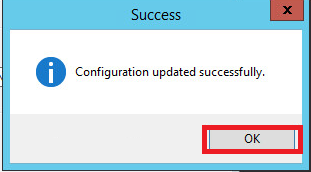
- Click on OK to continue.
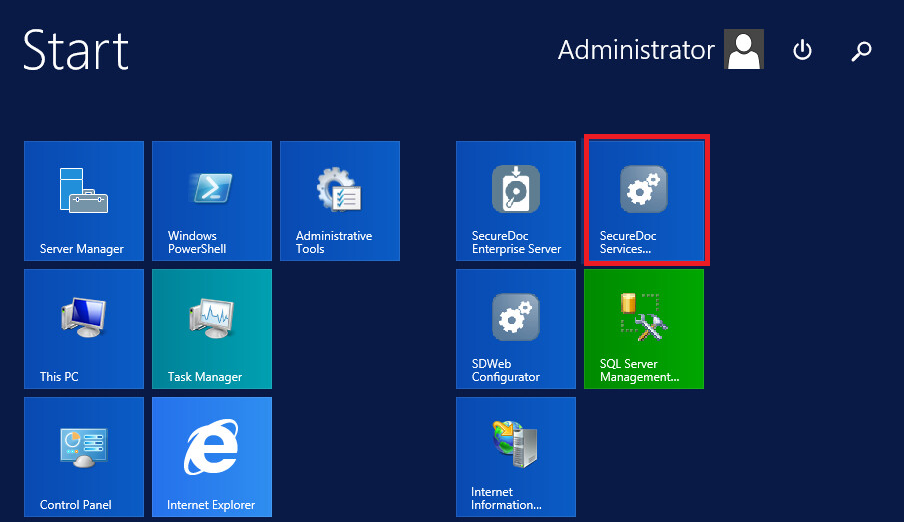
- Launch the SecureDoc Services Configuration.
Pic48
- Select SDConnex Service and then click on Configure.
Pic49
- Confirm that SES Web Management Service option is enabled. If necessary, click on Apply.
You will then need to Stop and Start SDConnex service in order to apply changes. (this applies changes made by running SD Web Configurator)
Pic50
You should see a SecureDoc web page dialogue prompt displayed with prompt for Username and Password.
Pic51

SD Web is now ready to use.