CLIENT INSTALLATION
Preliminary info- Preparing your USB Flash Drive
The USB key must have a 2GB minimum space available
The USB process is compatible with both Windows XP and Windows 7
Formatting USB using wmboot utility
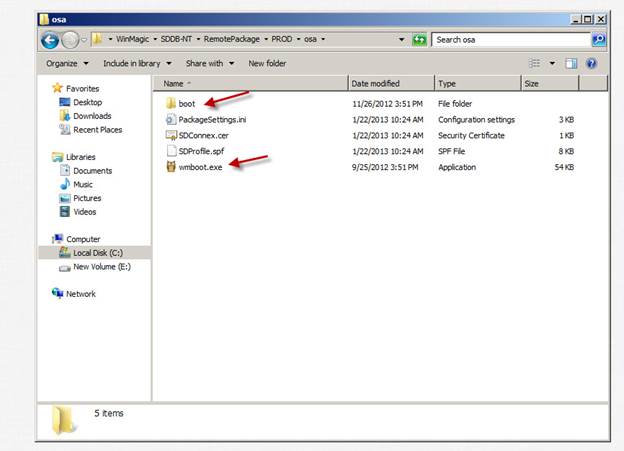
Copy wmboot.exe and boot folder to your Desktop (or you can run it from current location).
Extract wmboot.exe and latest OSA boot image (under a “boot” folder). These files are created together with the OSA Package
Remove all USB devices from the computer.
Run the wmboot.exe tool.
Please make sure to right click on wmboot.exe and run as administrator. If you double click on the wmboot.exe it will produces the error “destination disk open failed, 0”
Plug in the USB key (the key will be formatted and all its data lost).
The wmboot.exe will automatically detect the USB as shown.
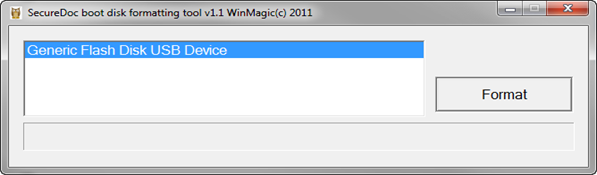
Select USB key name and click Format.
The formatting process may take a few minutes. (Per wmboot.exe tool v 1.x, there’s no confirmation prompt when formatting completes).
Close the wmboot.exe upon completion.
Copy the 'boot' folder on your USB (or drag and drop boot folder over to root of the USB stick)
The contents of the boot folder should be as example shown:

METHOD 1 – The Network Share method
Navigate to file \boot\grub\menu.lst on USB.
Open file in Notepad or WordPad.
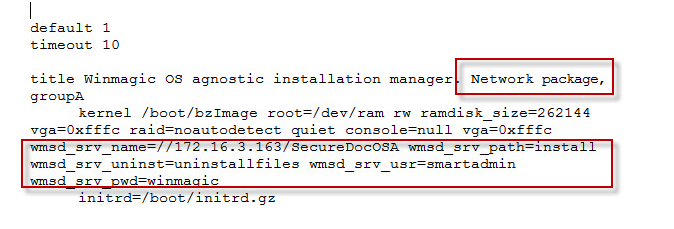
Modify the file with user-defined parameters that will copy the configuration files from the SMB/CIFS/SAMBA share.

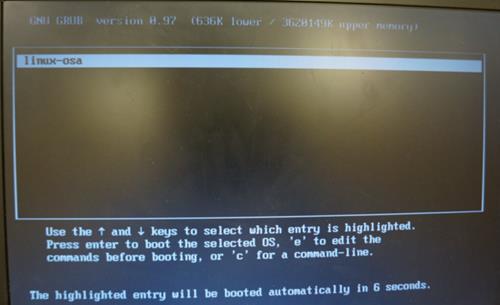
Boot from USB or from the PXE server.
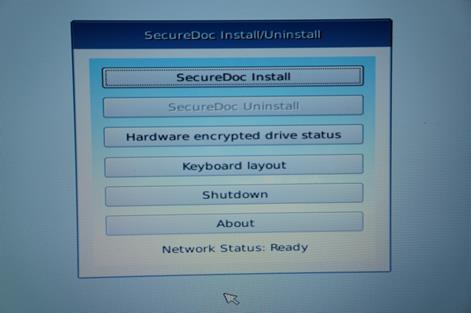
The SecureDoc Install/Uninstall screen opens, showing the available menu of options.
Wait for Network Status (at the bottom of the screen) to show Ready status.
Click SecureDoc Install. SmartStart will attempt to copy the configuration files locally.
If copying fails - you can try this process several times
If it continues to fail - there may be an access problem to network share where Install files are located.
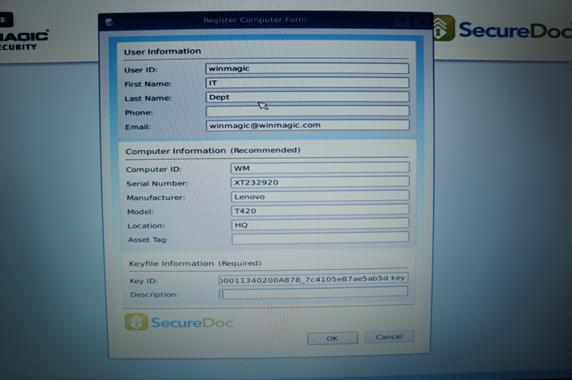
If copying is successful, the Register Computer Form screen will open.
Enter user name provided by your administrator.
Note for SES administrators: this userid must exist in SES database
Modify other field as needed and click OK to submit the data.
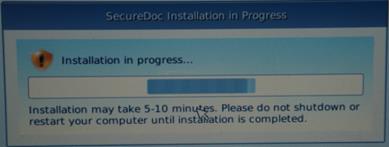
The encryption will start. A SecureDoc installation in Progress screen will be visible until installation is completed (approximately 5 minutes).
METHOD 2 – The USB Local method
Preliminary:
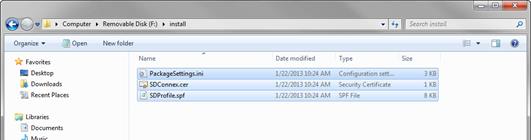
For the installation menu to load when booting, BOOTIA32.EFI and BOOTX64.EFI files should be copied from the from the installation package folder pictured below to the Boot folder on the USB.
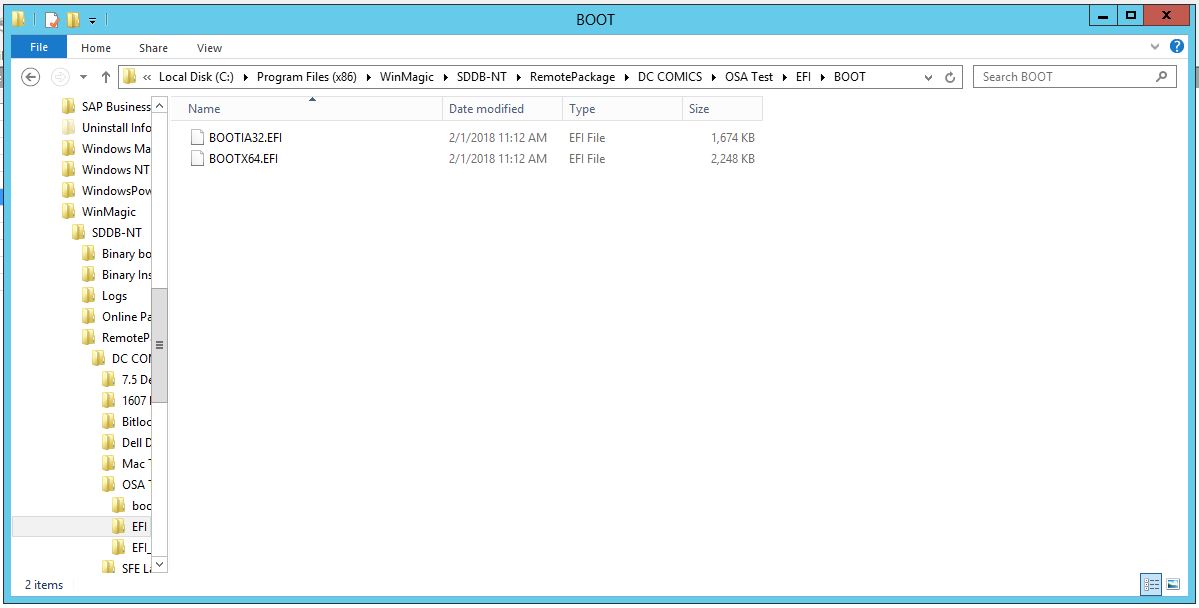
Note: After installation on some Dell models, it’s been observed as well that the BootX64.EFI file may have to be added manually to the Dell UEFI boot order for the Boot Menu to appear if not detected automatically when booting.
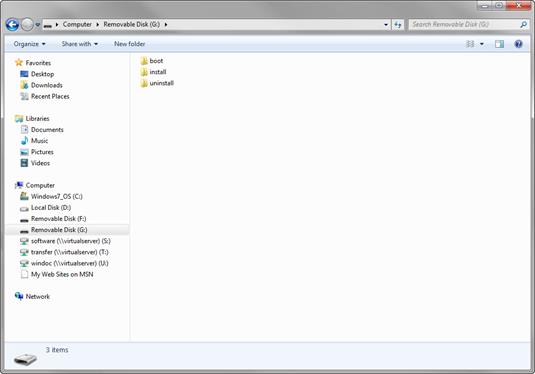
Create 2 directories on your USB: 'install' and 'uninstall'
Copy the SecureDoc OSA configuration files in the install directory
On the USB, navigate to the menu.lst file located in \boot\grub directory.
Open the file in either Notepad or WordPad.
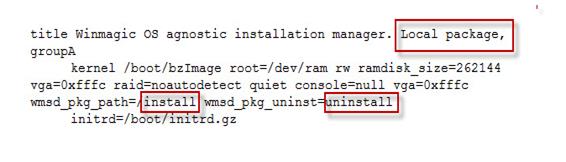
Under the title Local package section:
change the wmsd_pkg_path to install, which is the location where the configuration files are located on the USB.
Also add the wmsd_pkg_uninstall path to uninstall, which will hold the unlock PIN for the drive during the uninstall process.
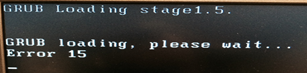
Grub Error 15: There may be different scenarios that could create this error messages.
There is an error in the screenshot below it should have ‘/’ next to wmsd_pkg_uninst=/uninstall
Uninstall AV and try running the wmboot again.
It is possible that the system has corrupted malware issues
Right click on the wmboot.exe and run as administrator. Unplug USB and then reattach USB to device, and add the files and folder appropriately and make changes. Then boot to the USB.
Completing this step may help in a better detection process of the file system on USB device.
OSA INSTALLATION
Boot from USB
The SecureDoc Install/Uninstall screen opens, showing the available menu of options.

Wait for Network Status (at the bottom of the screen) to show Ready status

Click SecureDoc Install.
If copying is successful, then Register Computer Form screen will open.
Enter user name provided by your administrator.
Note for SES administrators: this userid must exist in SES database
Modify other field as needed and click OK to submit the data.

Encryption will start.
A SecureDoc installation in Progress screen will be visible until the installation is completed (approximately 5 minutes).

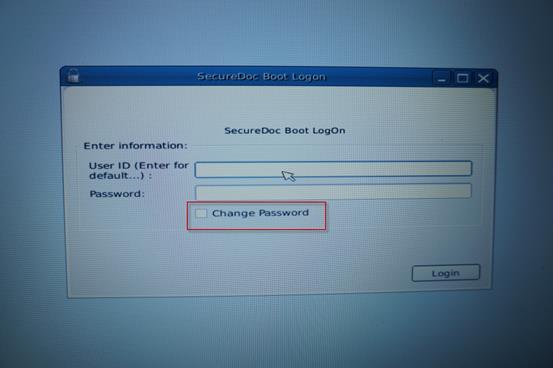
PREBOOT: Changing Password
At SecureDoc Boot Logon screen, checkmark Change Password option, then enter your UserID
and Password then, press Enter.
You will be prompted to enter a new password (and to confirm it).
Click Save. A confirmation message appears.
Click OK.
 UNINSTALL OSA
Within the SES console, click on Devices tab, then right-click on the SmartStart client computer from which you want to uninstall SecureDoc and choose:
Export hardware encryption data.
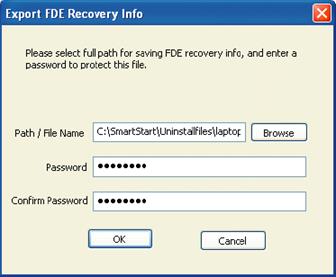
Provide a name and password for the .dbk file then, click OK.
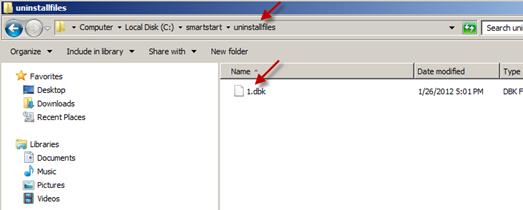
This .dbk file can be copied to the Uninstallfiles folder on the smb/cifs/samba share for the Method 1 Uninstall
Or it can be copied to the USB in the 'uninstall' folder
Once the file has been saved, restart the client computer and boot to the USB (or PXE server).
In the SecureDoc Install/Uninstall menu click Uninstall.
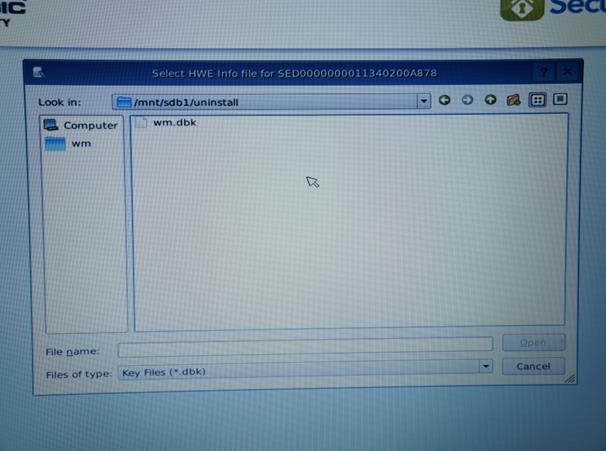
SecureDoc will scan the 'uninstall' folder on the USB or the 'Uninstallfiles' folder on the network share and display the exported dbk files.
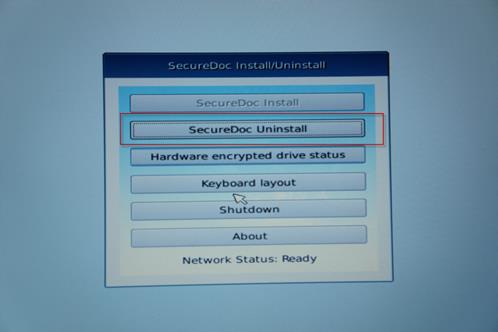
Select the dbk file for your machine and click Open.
Enter the password previously entered and click OK.

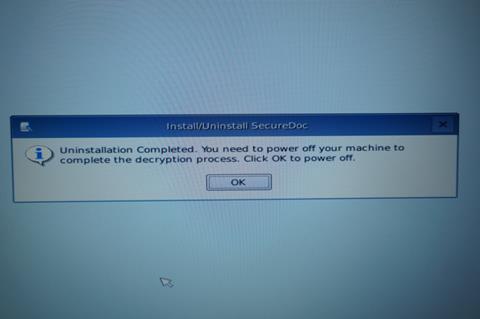
A new screen showing the uninstall progress will appear.
When uninstall is complete, you will be prompted to turn off the computer: Click OK.
Remove the USB or network cable from the computer.
Boot up the client computer.
The device will now boot directly into your OS.
The SED is now unmanaged.