SES Database Upgrade on Azure SQL
- Prerequisite
- Older version/build of SES installed and configured using database on Azure SQL (please note that Azure SQL supported from 9.0 SR3 as SD-43408)
- Steps to upgrade SES database to newer version/build
- Uninstall current SES from the server
- Install newer SES version/build on the current server
- Launch SES console and then log into SES admin keyfile
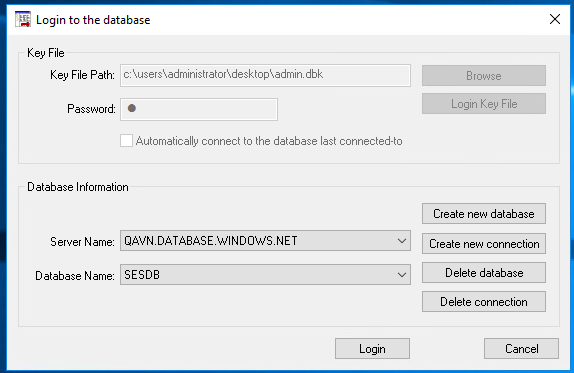
- Click on “Create new connection”
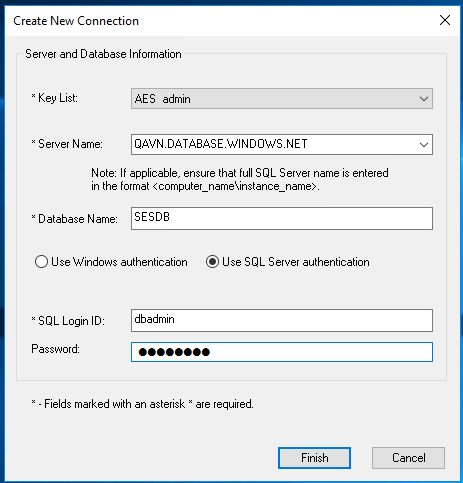
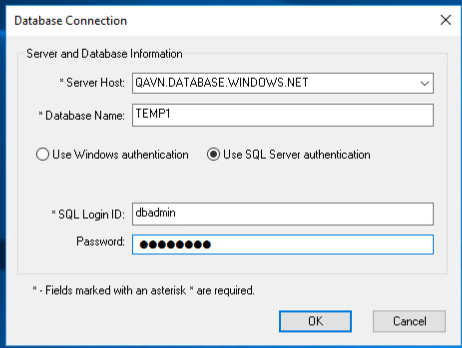
- Fill out all required fields to connect to SES database on Azure SQL then click “Finish” (below is an example)
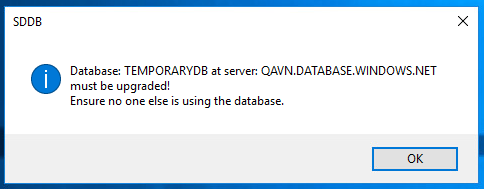
- A dialog will display to notify that the SES database must be upgraded
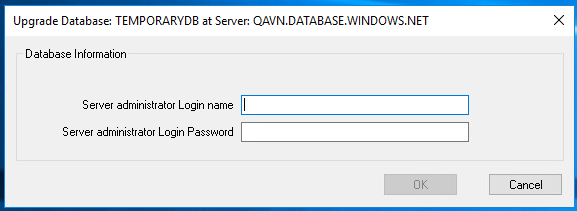
- A next dialog displayed to enter database admin/password
- A warning dialog will display as below to notify user for upgrade preparation
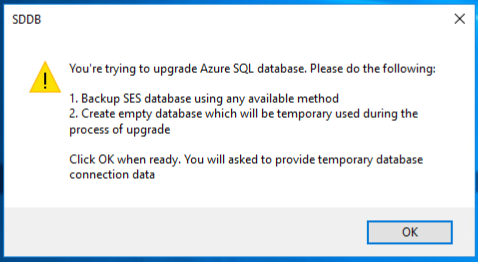
- Now, (1) manually back up SES db if needed
- The next (2), create empty database for temporarily used during the upgrade -> This step, please refer to KB 1964 ‘Azure SQL Setup’ to create temp database on Azure SQL.
- After the temp database created successfully, click on “OK” button at dialog above
- Another dialog will display to fill out the temp db information as below
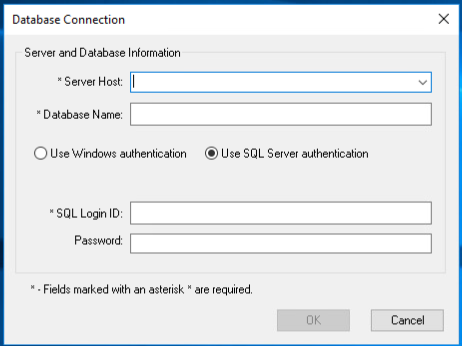
- Fill out the required information (the info to connect to temporary database just created above) and click OK
- The upgrade dialog will display as below
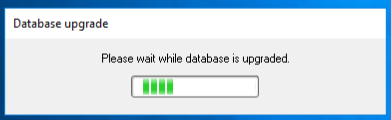
- After the upgrade process complete successfully, the finished dialog will display as below
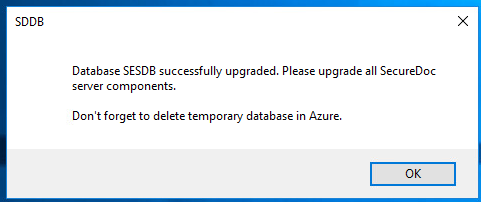
- Click “OK” at dialog and SES console will automatically launched
- Now the last step, delete temporary database in Azure
- Go to Azure portal -> then search for SQL database
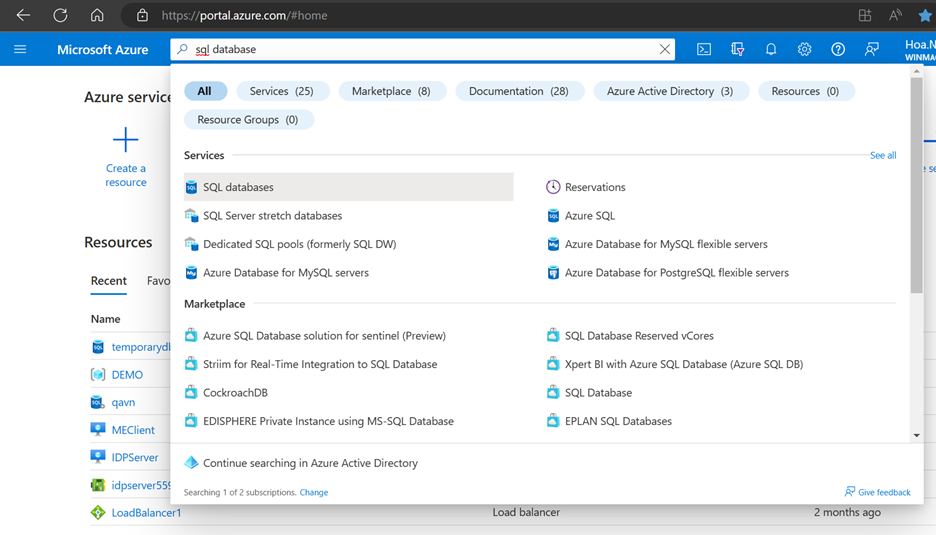
- Select ‘SQL databases’
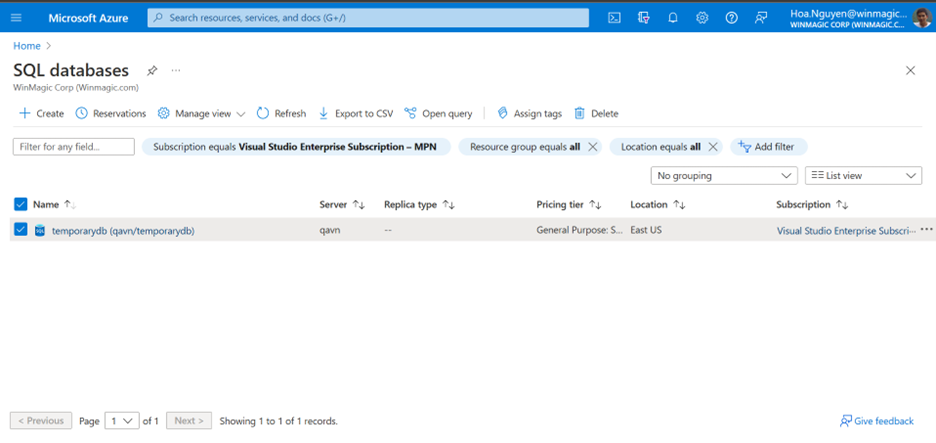
- Check on the temporary database then click on ‘Delete’ button on the above menu to delete temp database
Internal reference SD-43408