Topic:
This How-To article outlines the steps necessary to create and provision an admin account to access the SESWeb browser-based console from the SES main console.
Note: Please refer to KB 1522, "How to setup SESWeb Admin Users, Groups, and Roles" if customer wish to configure it from the SES Web console.
Product version affected:
SES 6.1 and newer
Environment:
Please refer to http://www.winmagic.com/support/technical-specifications for system requirements
Requirement:
- Master SES admin login account with administrative rights to create admin users.
Steps to follow:
Step 1:
Highlight the SES Administrators folder > Select the Users Tab, > Right click to select Add User.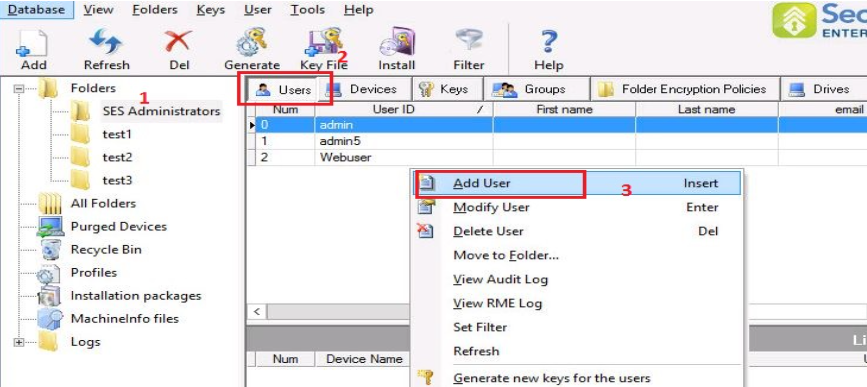
Step 2:
Fill out the User ID, and password fields, and assign "Admin Rights". 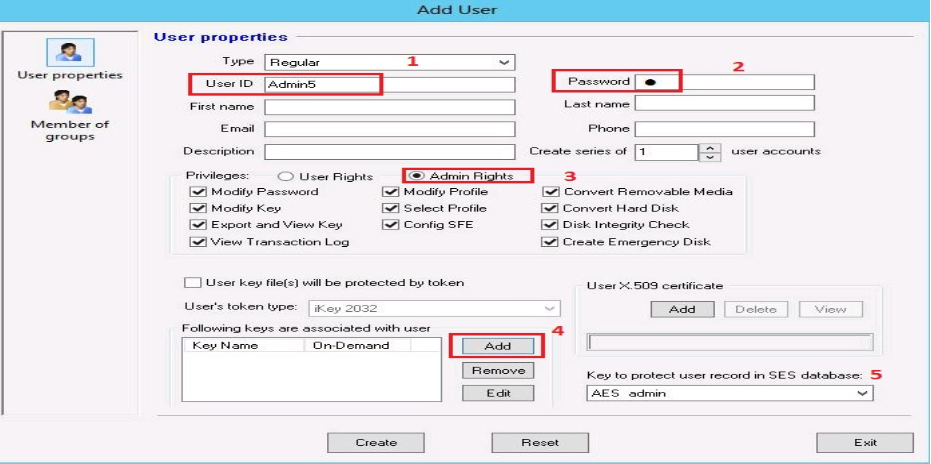
Step 3:
Click on the Add button > highlight the Encryption key belonging to the SES server > Click OK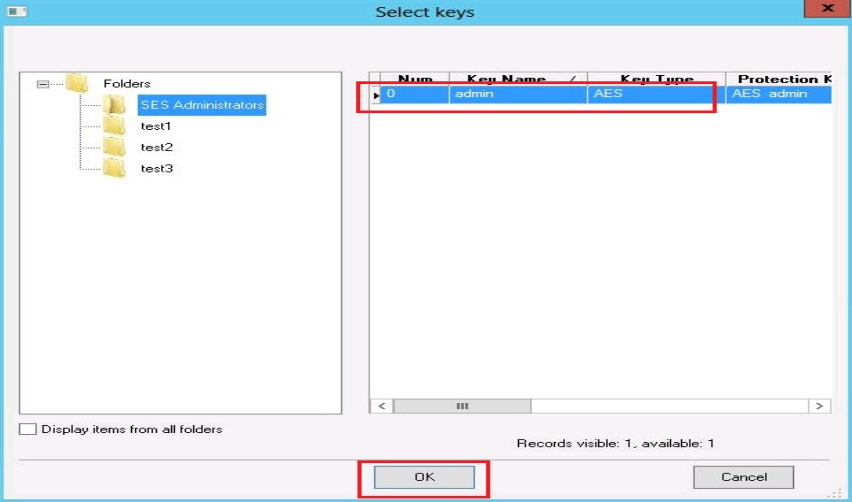
Step 4:
Ensure the AES encryption key is the same key that protect user record in SES database. Click on the Create Button.
Step 5:
Right click on the user and create key file (dbk) (Save it to desktop).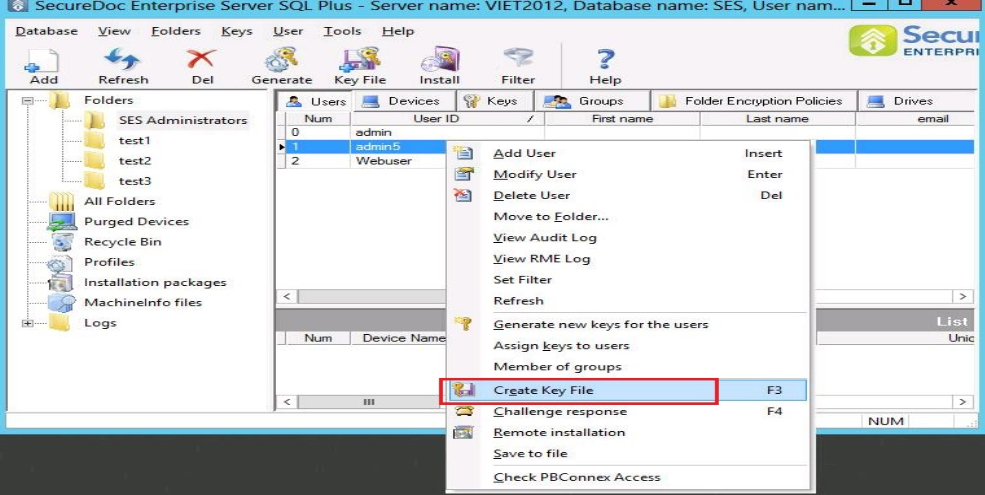
Step 6:
Click on Database > Select Access rights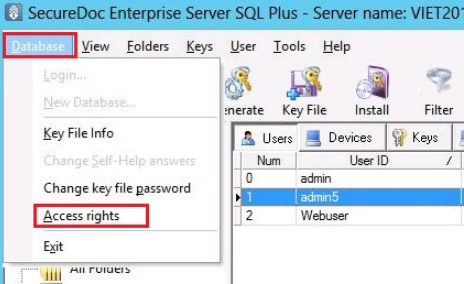
Step 7:
Click Add button to select for the keyfile (i.e. Admin5.dbk on the desktop). > Click Open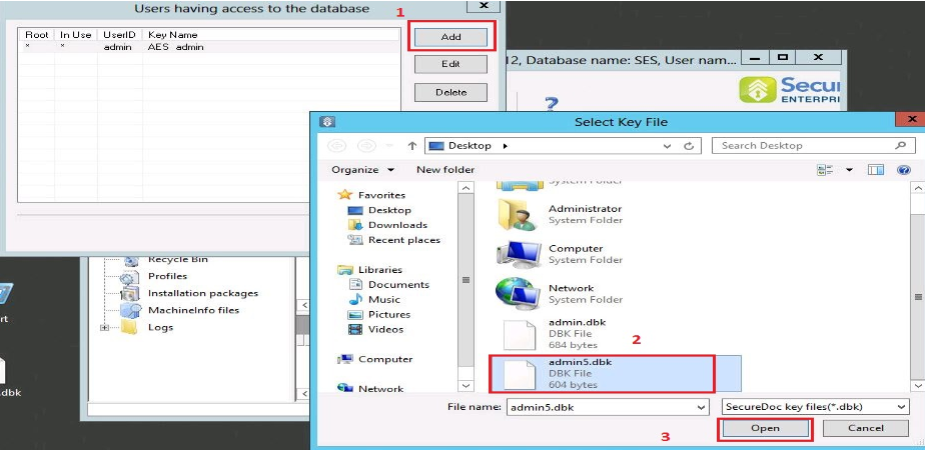
Step 8:
Enter the key file password > Click Login
The user’s default key file will appear.
By default, the Options “access to global SES settings, Access to SD profiles and Access to installation packages” are check off. It will be up to you to assign the other access requirements to the user.
Click on “Access to Folders” ◊ Please check off the folders you want the user to have access to. Click Save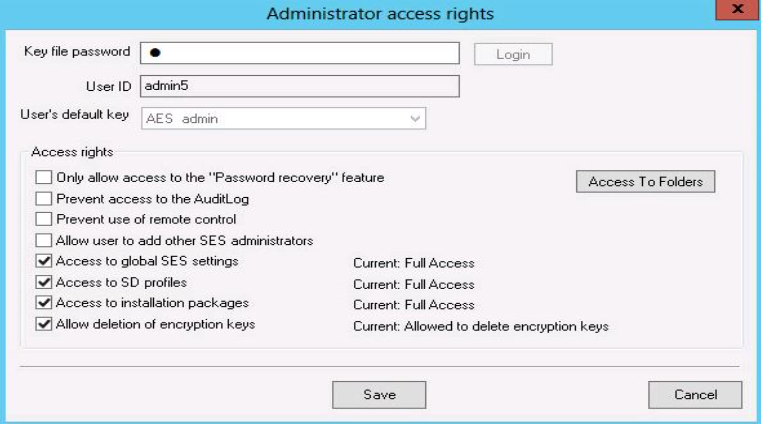
Step 9:
Click Close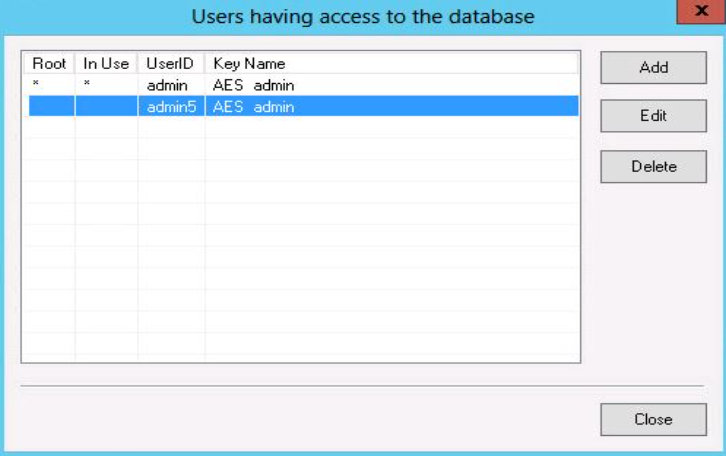
Step 10:
Log into the SESWeb console using the newly created account.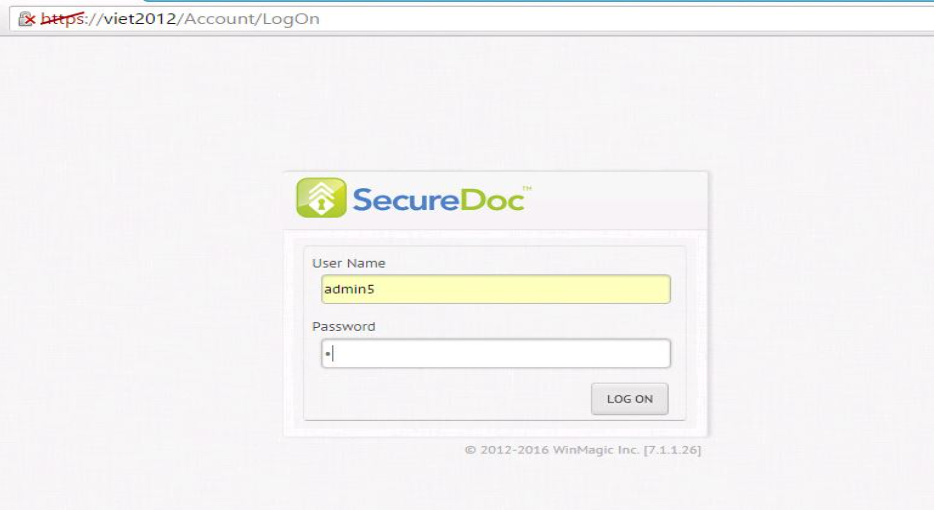
1524 Configuring SESWeb Users from SES Console
- Updated on Feb 6, 2026
- 1 minute(s) read
- VN
Was this article helpful?