Configuring the SES Web Console
The SESWeb (also called SDWeb) Console is a convenient way to perform day to day tasks such as Challenge/Response recovery for users who have forgotten their password, adding or removing users to devices, as well as accessing a variety of pre-configured reports and statistics. In V8.6, new functionality permits defining and updating both Device Profiles and Installation Packages.
In order to configure the Web Console, there is some minimal setup required.
NOTE: For those customers who are upgrading to SES V8.6 from a prior version, Version 8.6 has eliminated the need for the Web Configurator mini-application, and instead configures how SESWeb accesses the database through a web page, discussed in a new section named “Define how SESWeb authenticates to the SES Database”, which appears a bit later in this chapter.
Configure IIS to serve the SES Web Console
Video: https://youtu.be/LDNimDHPCrA Run-time: 2m57s
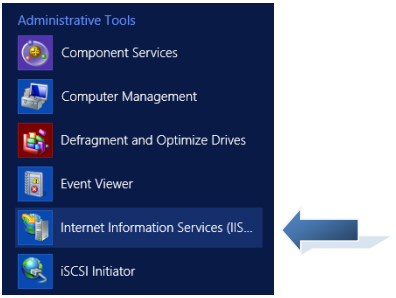
Choose Start >> Internet Information Services (IIS Manager)
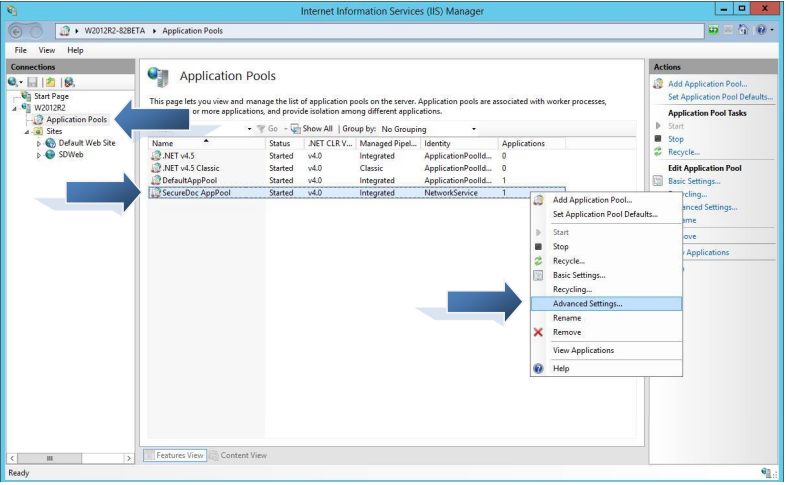
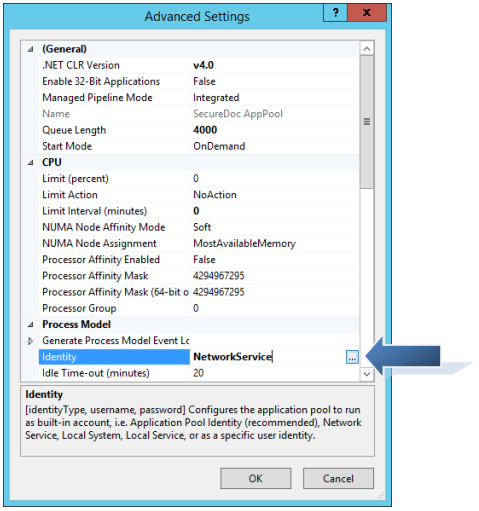
Once IIS is open, expand the server tree on the left column and click on Application Pools From here, right click on the SecureDoc AppPool and select Advanced Settings… as shown:
Once in Advanced Settings, look down the list for Identity (You may need to scroll down) Select it and click on the small button to the right with the three dots […]:
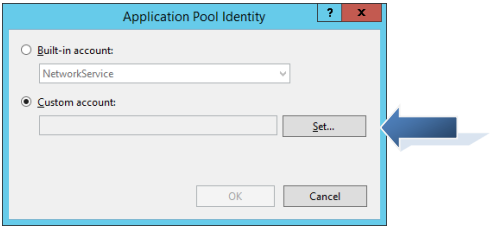
Select the radio button for Custom account: and click the Set… button:
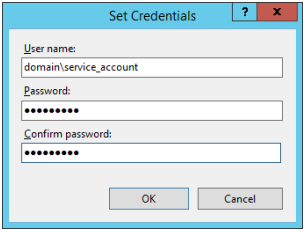
Enter the credentials for your service account (same account used to run SDConnex) and click OK:
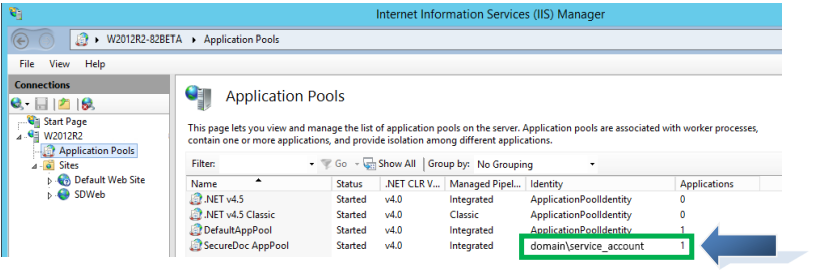
Proceed to Click Ok until you are back at the IIS screen. You should see the new account settings reflected in the AppPool:
Next, we will check the bindings for the HTTPS certificate. Click on SDWeb and from the following screen, click on Bindings… in the right-hand column:
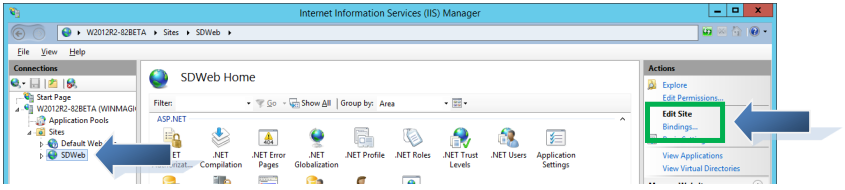
We must bind a certificate to the website. For this guide, we will bind a self-signed certificate. Click on Edit…:
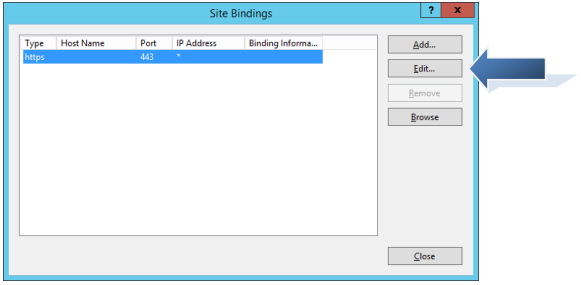
The Edit Site Binding screen appears. There should already be a certificate created as part of the SES installation. Select it from the SSL Certificate: drop down menu, and click OK:
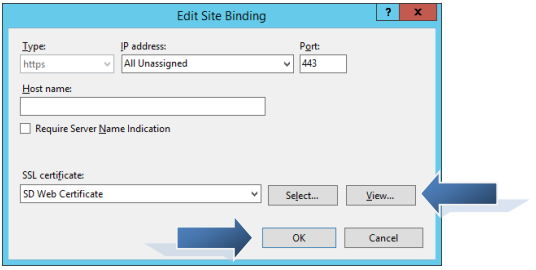
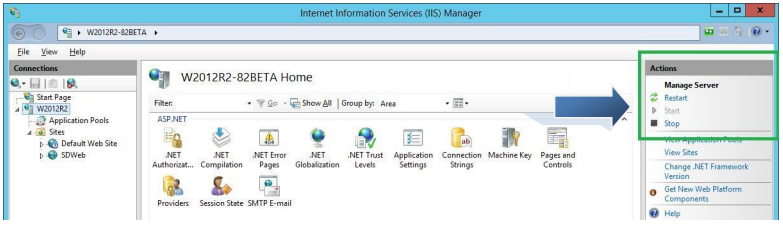
Close out of the edit binding screen and return back to the IIS screen. Click on the server name in the left column and restart the Web server by either right clicking or clicking in the right column:
Define how SESWeb authenticates to the SES Database
Once the above steps have been completed, the last step is to instruct the SES Web Server:
a) How to authenticate to the Key File that protects the SES Database, and
b) Define and know where the Database is, and what it is called.
To do this, it is necessary to open a browser directly on the Server running SES Web. The site below is not accessible from other devices.
NOTE: Microsoft Edge, Chrome, Firefox will work, but Microsoft Internet Explorer is deprecated, and may encounter issues with registration. It is recommended to use a modern browser for this process.
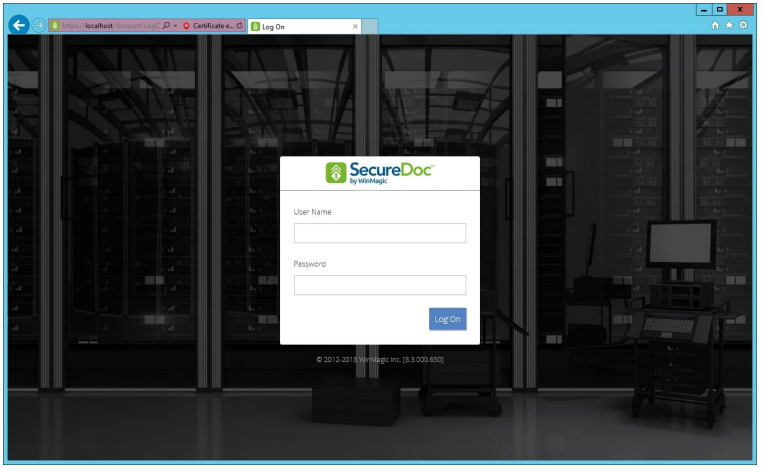
1 - In the browser URL, enter https://localhost. The browser will automatically determine this configuration process has not been performed before, and will redirect to https://localhost/Install, as shown in the screen below.

1 - Select the Master Key File location – This is the master key file created on page 18 of this guide
2 - Enter the Password that protects the master key file.
3 – Enter the name of the Server which is running SQL Server
4 – Enter the name of your SES Database
5 – In the Authentication dropdown, select whether you’ll be using SQL Authentication (the ‘sa’ account) or windows credentials. Windows credentials are derived from the SecureDoc AppPool as configured in the previous section.
6 – If using SQL authentication, enter the User Name of the account you’ll be using
7 – If using SQL authentication, enter the Password for the account you’ll be using
8 – If desired, enable logging (Typically only at the recommendation of WinMagic Support)
9 – Click the Configure button.
NOTE: Once the configuration details have been saved, the server will not continue to redirect from localhost to localhost/Install. Once the above settings have been defined, the SES Web console will know that the configuration settings have been applied and will not display the prompts screen above, even if you enter “localhost” as the URL. However, if you ever need to return to this screen (e.g. to make any changes), you can log into it again by opening a browser on the Server and entering https://localhost/Install”
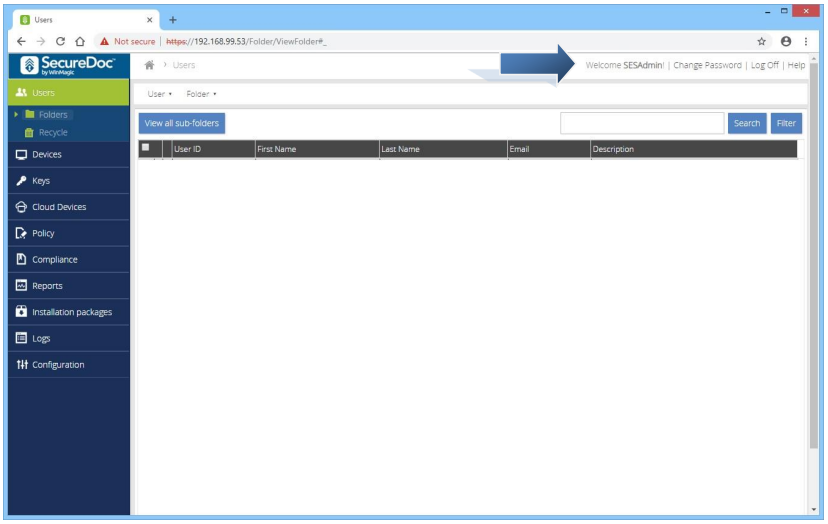
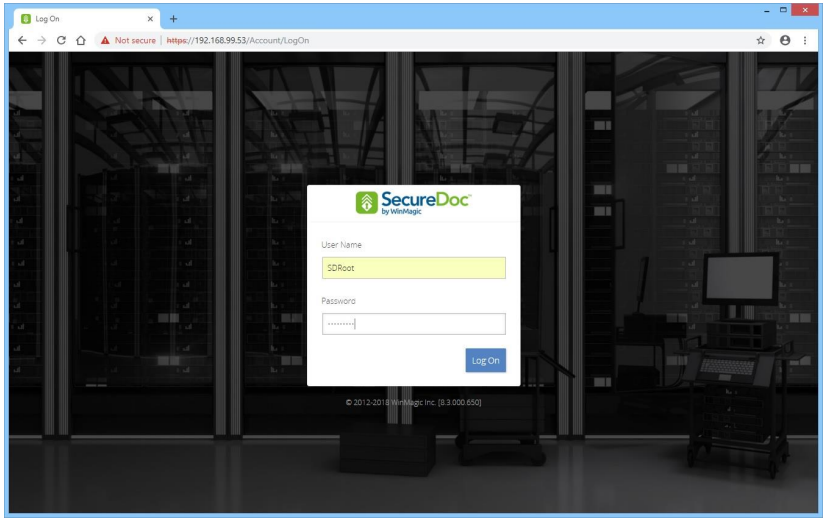
Lastly, verify that you can access the SecureDoc Web Console:
Login using the Root User that you created when you created the Master Key File:
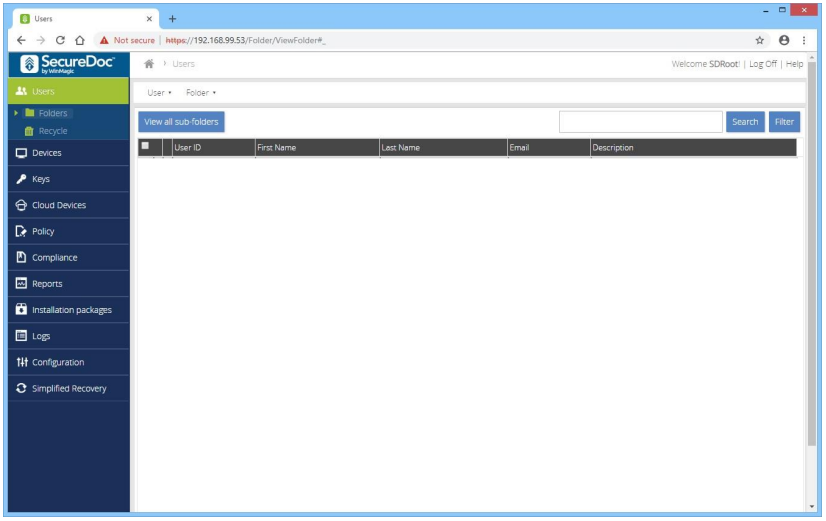
You will be presented with the main screen, and the Users section:
Add Group Access to the SES Web Console
Video: https://youtu.be/MvxasOvNFFI Run-time: 2m13s
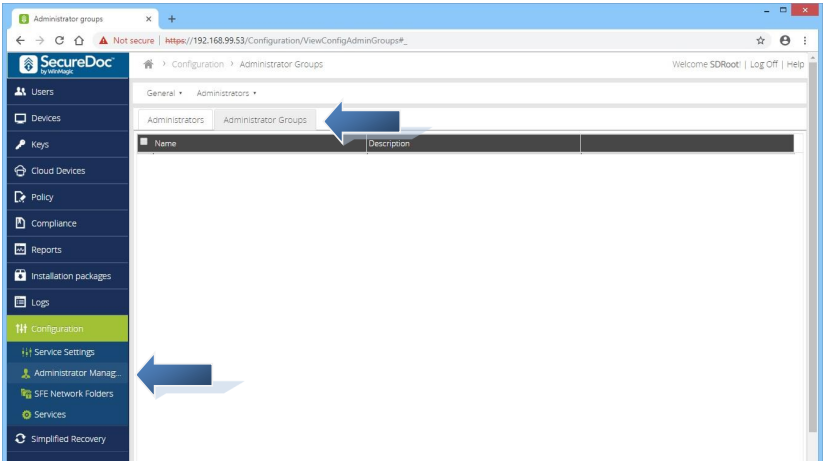
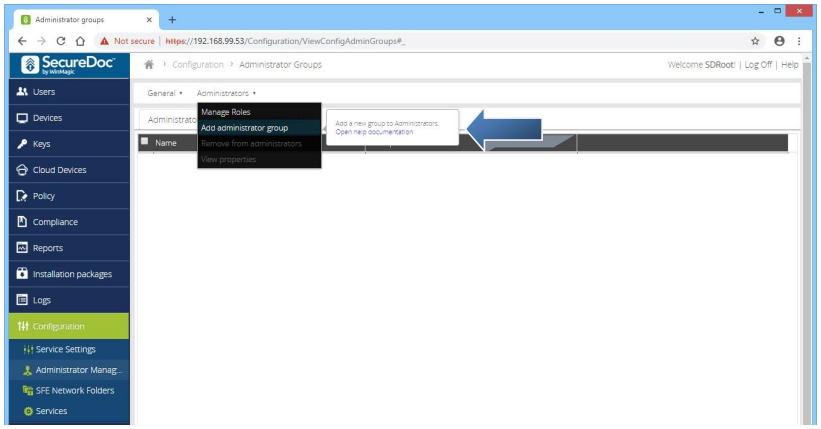
Next, we will add an administrator group for access to the console. Click on Configuration to open that section, and then click on Administrator Management. Next, click on the Administrator Groups tab:
Click on the Administrators menu, and select Add administrator group:
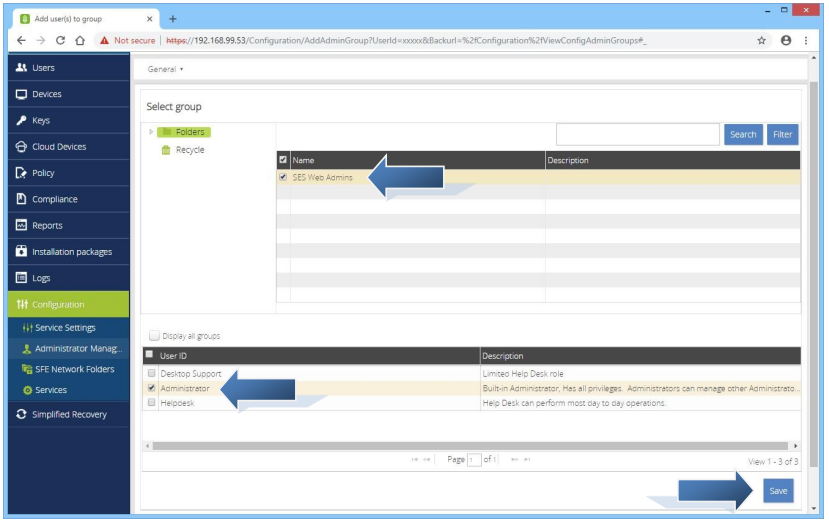
Select the group that you wish to add, and select the Administrator role from the bottom section and click Save. If your group is not shown, click the box Display all groups. If your group is still not shown, confirm that you have synced in the group from AD, or create a new group in the SES console before continuing:
You will receive confirmation that the settings have been saved successfully:
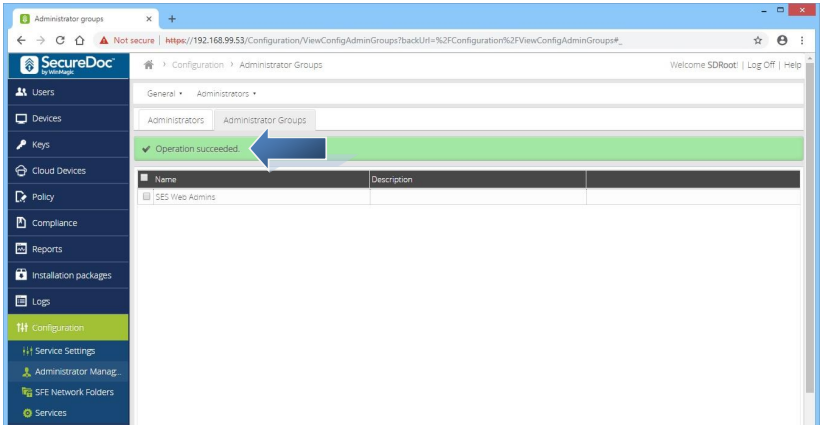
Log Off of the Root User and login using a member of the newly added group: