Enabling Fingerprint Protection in SecureDoc files
Summary
Describes how to configure SecureDoc to use fingerprint authentication.
Pre-requisites: UPEK Protector Suite Software Build 5.8.2.4640 or later.
SecureDoc with UPEK Fingerprint Scanner quick install guide
Pre-requisites
-SecureDoc 4.5SR1a or later
-UPEK Protector Suite Software Build 5.8.2.4640 or later
-UPEK software installed, users’ password already setup, and fingerprints enrolled.
-Ensure that fingerprints are stored in device memory via middleware, rather than on disk.
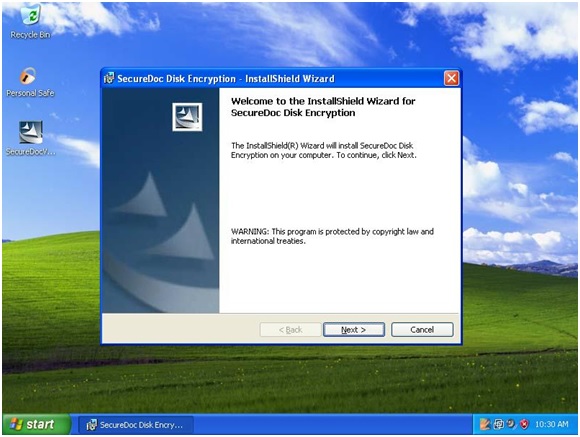
1) Double-click on the SecureDoc installation file to begin the installation. Click on "Next" in the welcome screen.
2) Click on "Accept" when you see the License and Limitations agreements. Click on "Next".
3) Fill out the Customer Information screen. Click on "Next".
4) Choose a location for SecureDoc, or click "Next" to accept the default location.
5) Click "Install" to begin the installation.
6) Click on Finish to complete the installation, and then click on "Yes" to reboot the computer. Setup will continue after computer reboots.
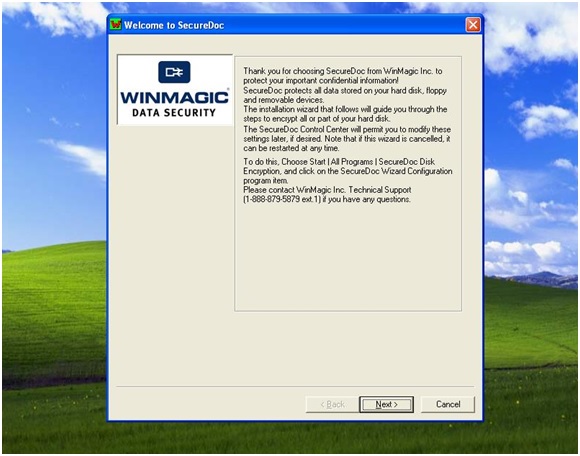
7) After the computer reboots, the WinMagic Welcome Screen appears. Click on "Next" to continue.
8) Select "YES" for "Configure a hardware token ?", then click on "Next".
9) Select "NO" for "Initialize token", then click on "Next".
10) Select "UPEK FingerPrint Reader" for Token Type, then click on "Next" and swipe your finger on the fingerprint scanner.
11) Click on "Next" and accept the default entries.
12) Click on "Next" and accept the default entry of "NO" for "Save Keyfile on Token".
13) Click on "Next" to accept the default filename, and then click on "Yes" to create a new database key file.
14) Enter a User ID (current Windows username), then click on "Login Token" and then on "Next". A message appears after the keyfile is created.
15) Enter a Key Name and click on "Generate" to create a key for encryption. Click on "Next".
16) Click on "Add" to add the boot partition hard drive to the list of disks to be encrypted, then click on "Next".
17) At this point we strongly recommend that you create an emergency disk. Click "Yes" to create one now, or "No" to create one after installation. Click on "Next".
18) Click on "Next", then "Finish" to continue the setup.
19) Follow the on-screen instructions to complete the installation.
20) After the computer reboots, the SecureDoc Boot Logon Screen appears. Press <ENTER> to accept the default username; press <ENTER> again in the password field to ensure that no password is selected. The boot logon now asks for fingerprint verification.
21) When the authentication has finished, the Windows desktop appears and the encryption process starts.
Custom Fields
Article ID: TS0005
Product_Documentation: Yes
Version: SecureDoc 4.5, SecureDoc 4.9, SecureDoc 5.0, SecureDoc 5.1, SecureDoc 5.2, SecureDoc 5.3 SR1