Topic:
This How-To article provides instructions on how to prepare and download SES Installation Packages from the SESWeb web-based console.
Since SES version V6.2, the SES Administrator gained new functionality within the SES Console to both prepare and then download Installation Package Files from within the SESWeb web-based Console.
Product version affected:
SES 6.2 and newer version
Environment:
Windows OS and devices
Steps to follow:
NOTE: Such packages must already have been defined or created by the SES Administrator using the SES Client/Server (Windows Application) Console.
SESWeb currently lacks the necessary interface elements to allow the SES Console Administrator to create a new Installation Package or to edit/modify an existing Installation Package using the SESWeb console.
The preparation stage (which only applies to Windows Installation Packages) once selected, will simply create a .zip file behind the scenes containing the 7 or 8 files normally associated with a Windows installation file. Apple Mac packages already come in a single archive, and therefore do not need to be zipped.
Preparing the Windows installation package archive will take a few moments to complete.
The screenshot below provides a list of the Installation Packages that have already been defined using the SES Console Windows application.
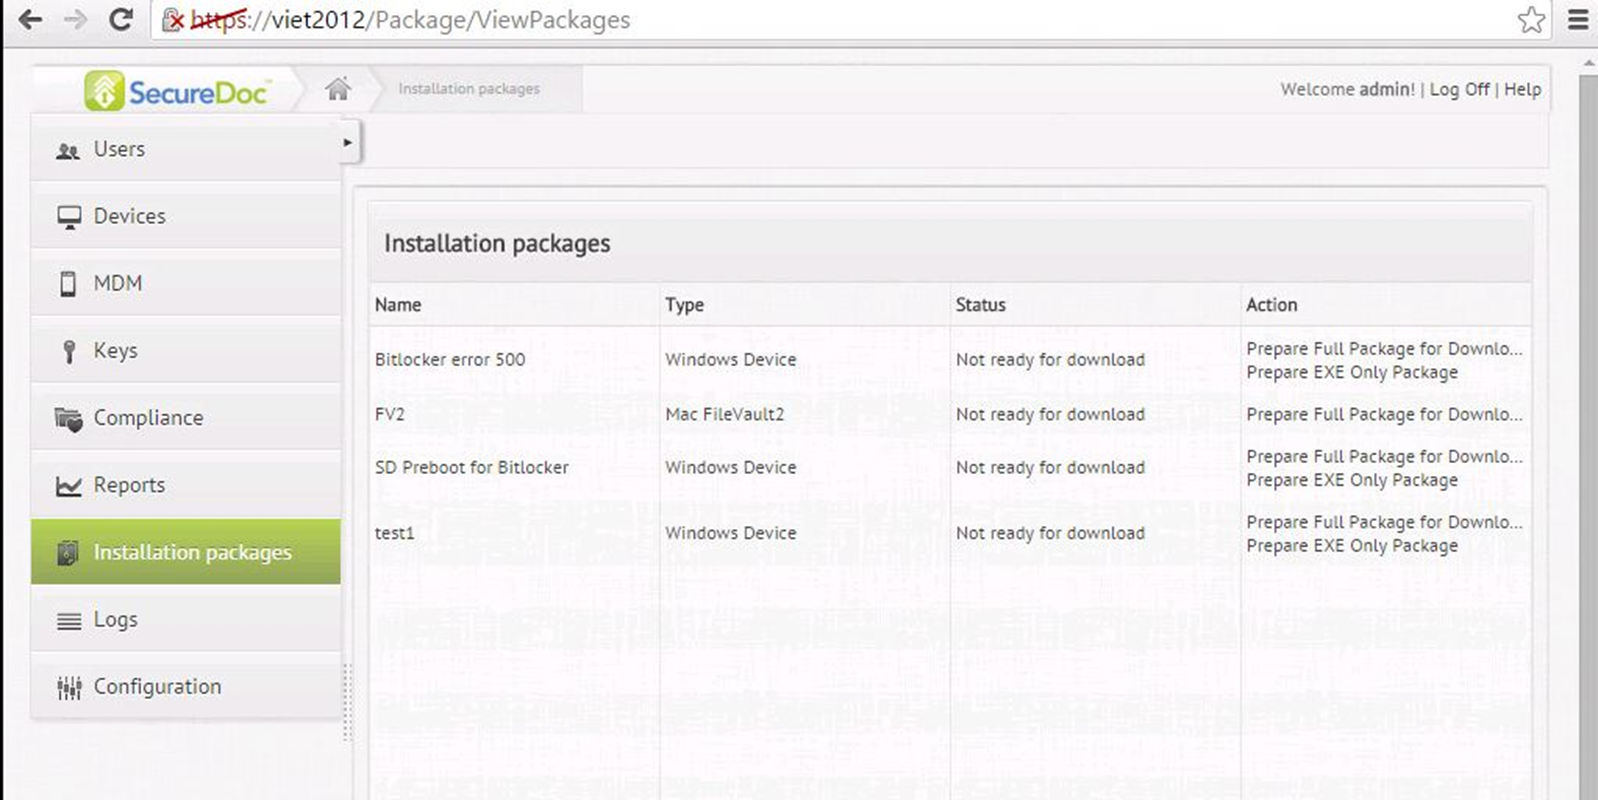
SES Web Console showing Installation Packages
Figure 1 - SES Installation Packages list - as shown in SESWeb Web-based Console.
You'll note that there is no Menu at the top of this screen - that is because there are no functions (at this time) that the Administrator can perform upon an Installation Package from within SESWeb.
Below we will show an enlarged version of the options shown at the right edge of the above picture.
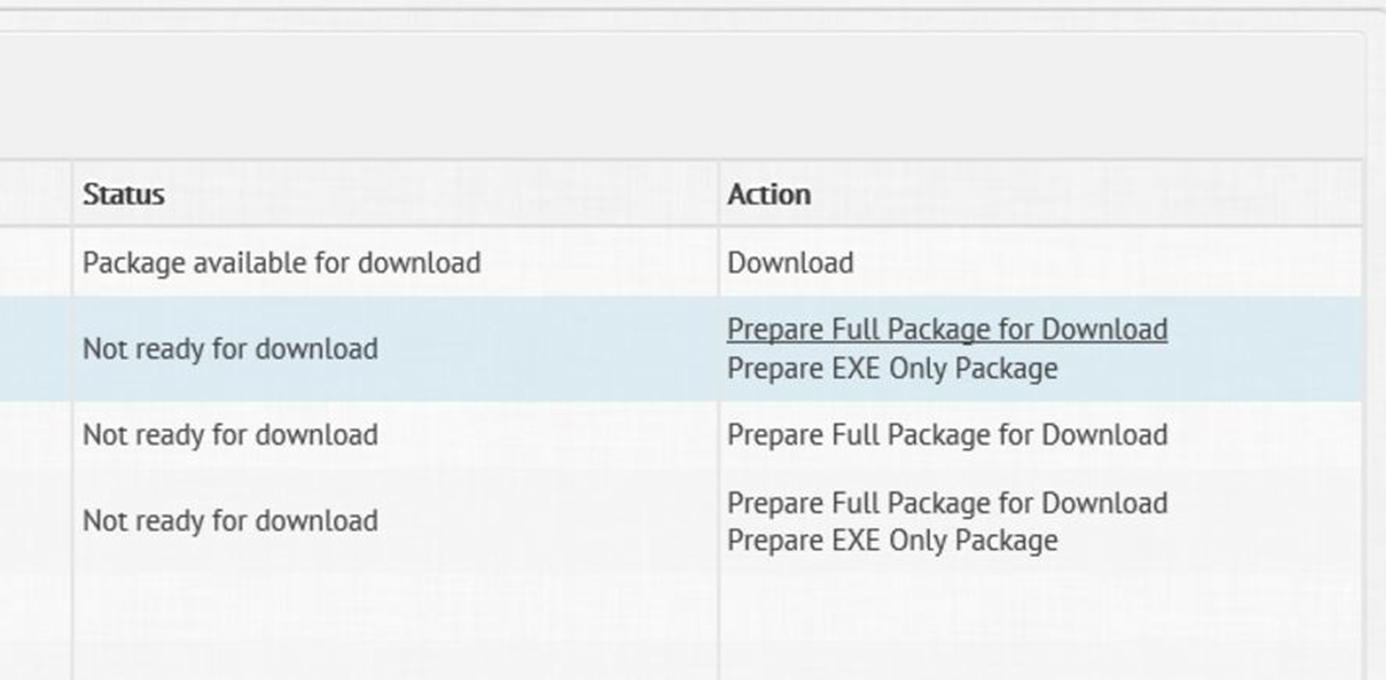
Detailed image showing menu options at right side of panel
Figure 2 - Detail from top-right of Figure 1, showing packages and action links
At the right side of the above panel, you'll note clickable hyperlink options for functions you can perform.
In the second line show, you'll note that there are two options - "Prepare Full Package for Download", followed by "Prepare EXE Only Package". These options are described below:
"Prepare Full Package for Download", if clicked, will prepare a zip file containing ALL the elements of an installation package, such as the certificate file, the profile's .spf file, the installer's .ini file and the executable and .msi files for installing the SecureDoc Client on a Windows computer.
"Prepare EXE Only Package", if clicked, will prepare a zip file containing only the executable elements - such as .exe and .msi files.
Having clicked either of the above, the web console will launch a process that will create the installation package files and compress them into a .zip archive file.
Once that process is complete, a new option entitled "Download" will appear in this panel (you will need to refresh this panel to see this change reflected). An example of that is shown in the first line of the screen image above.
By clicking on the "Download" link, the web page will prompt you to download this compressed archive (.zip) file. Depending on your browser, you may be prompted to define where you wish to store this zip file, or it may just be auto-downloaded into your normal downloads location.
In order to be able to run the installer, you will need to unzip the contents of the archive into a suitable location.